


VMP Fletching Station
$139.00
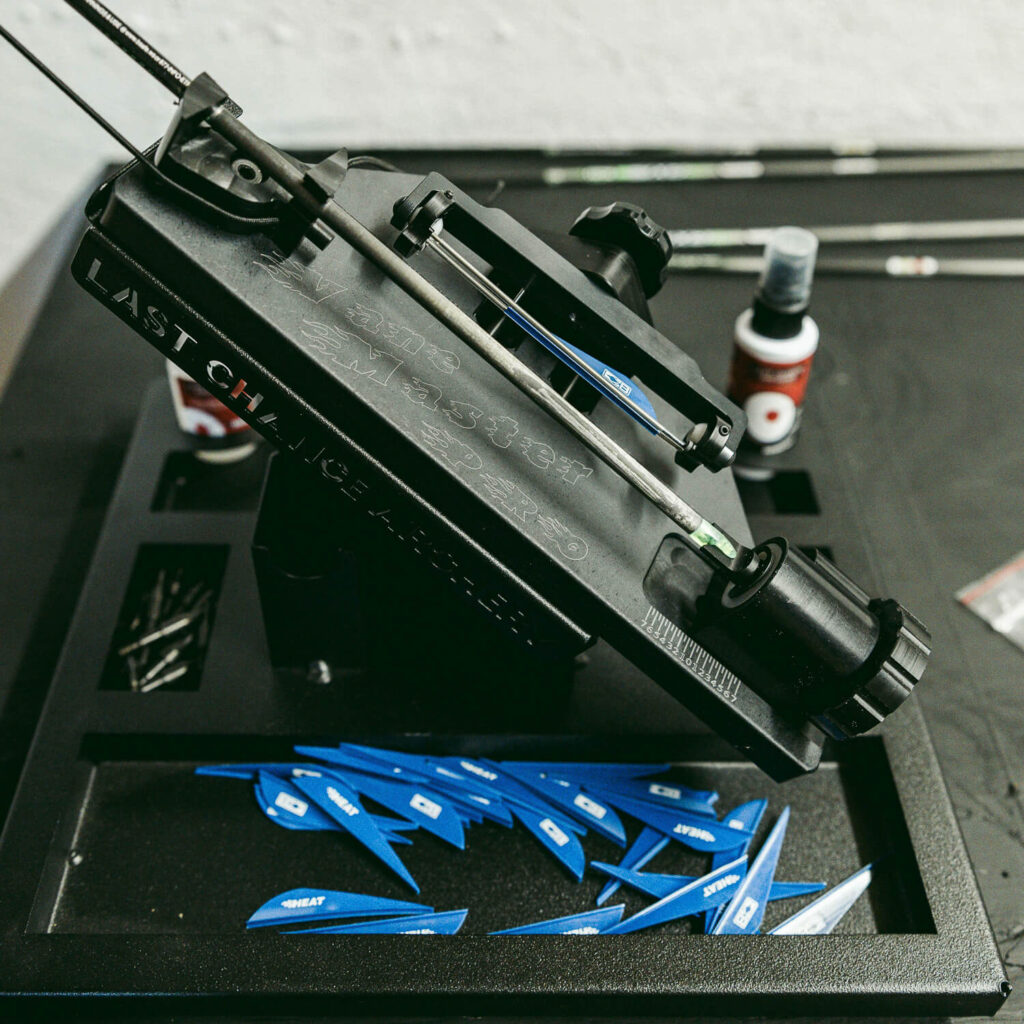
The VMP Fletching Station is designed to keep all your fletching tools organized and easily accessible. It includes dedicated spaces for essential items like a Vane Master PRO, LCA Glue, and LCA Activator, along with compartments for vanes, wraps, nocks, inserts, and tools. It also features a rubber grommet to securely hold your VMP helical pins in place.
Lead Time: 1 week(s)
- Hold all your fletching tools in one place
- Rubber grommet for holding VMP helical pins
- Scratch-resistant flat black powder-coated finish
- Rubber feet included
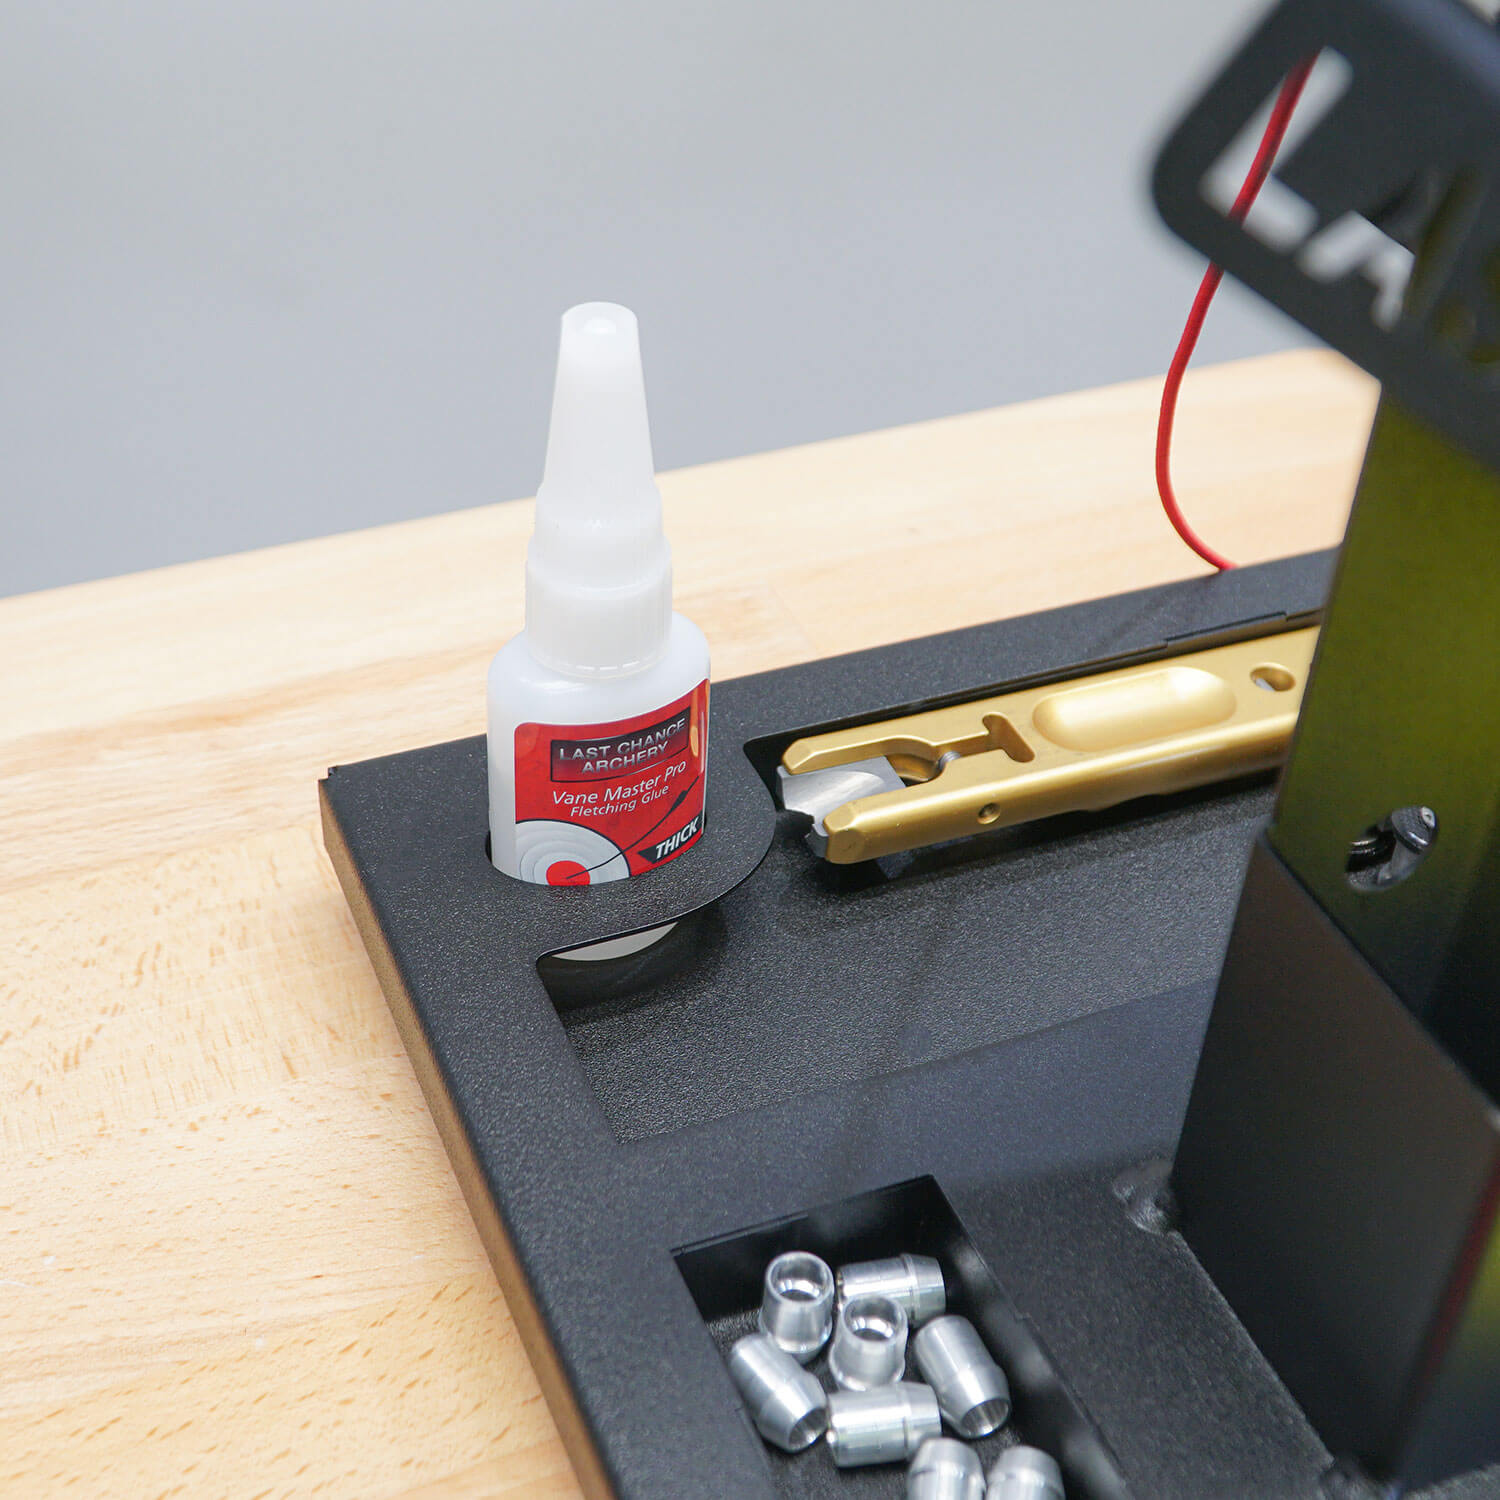
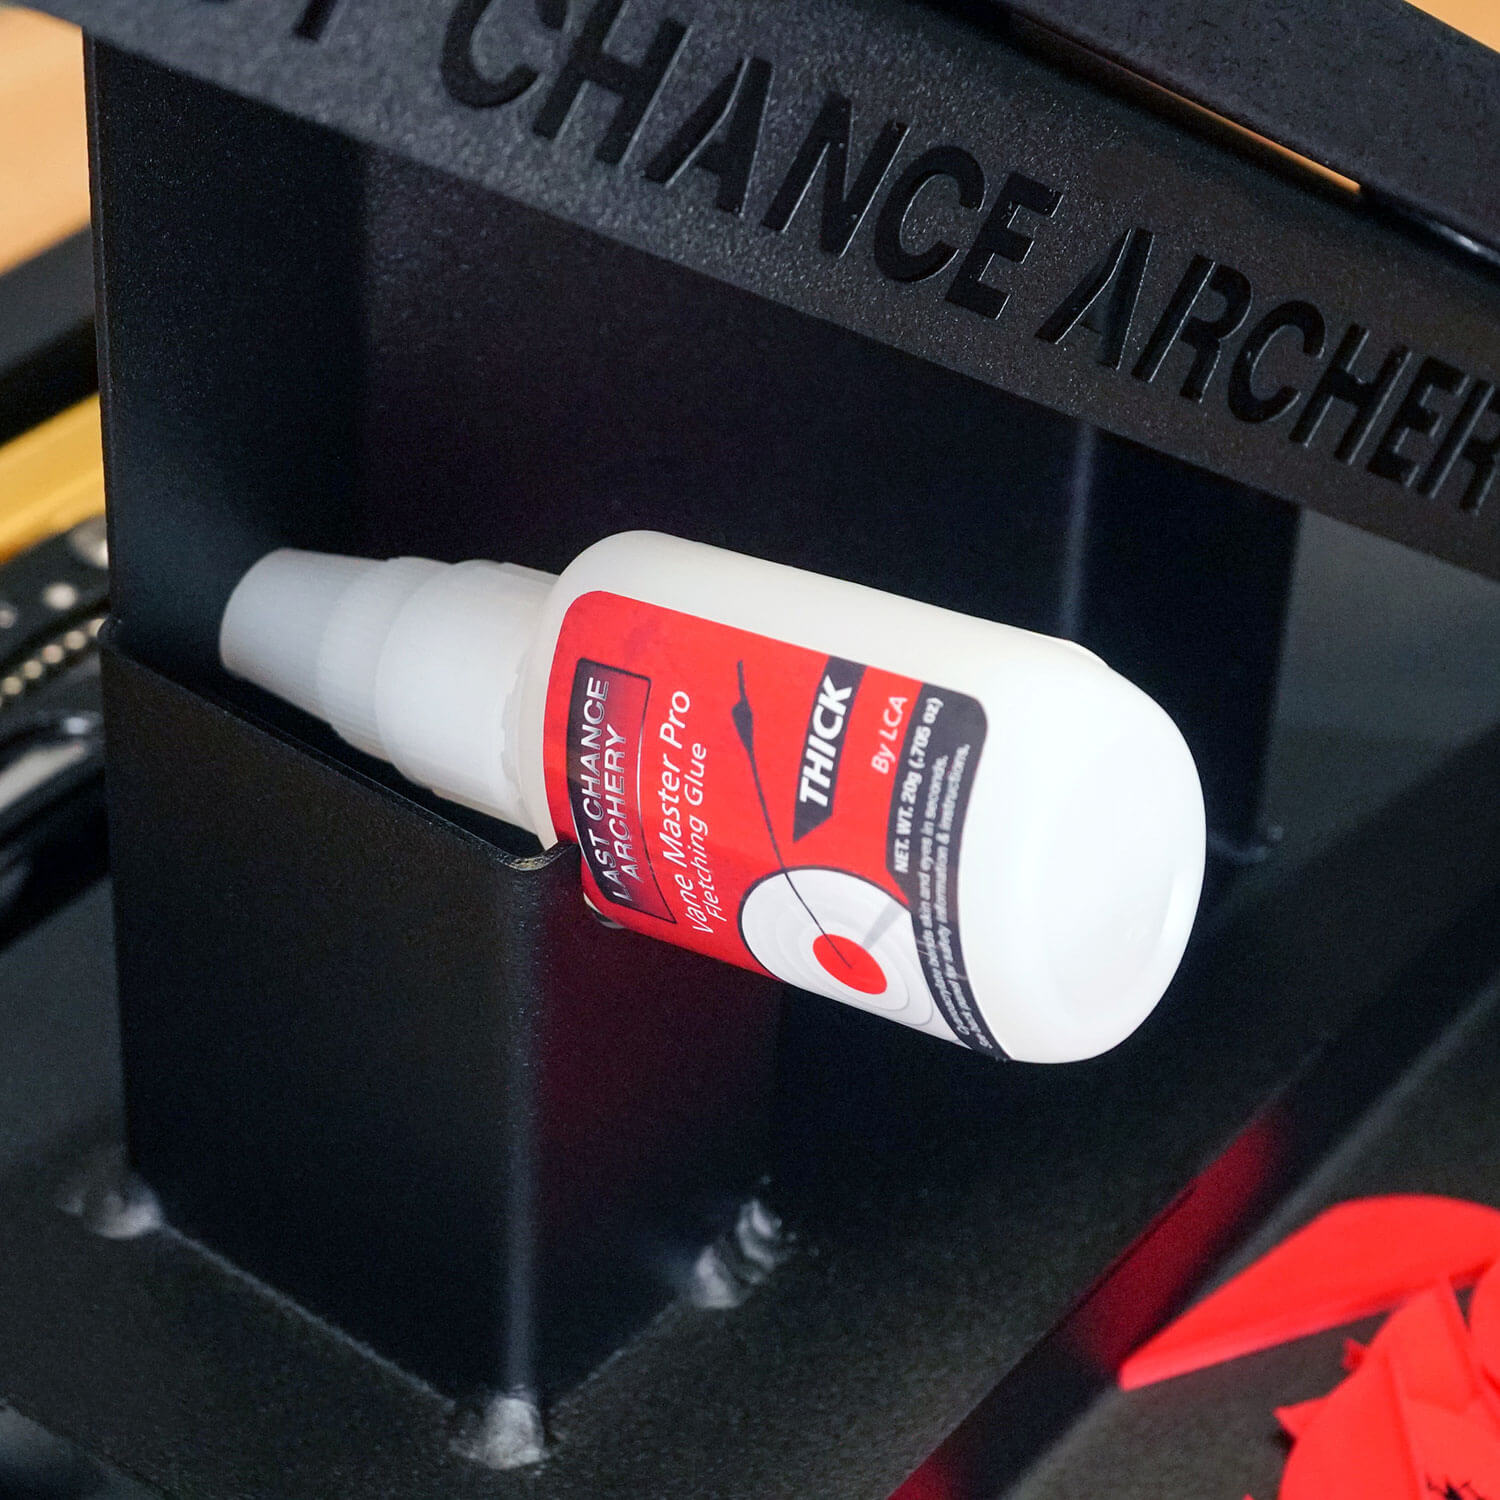
- Glue Holder: The glue holder keeps the glue bottle at an angle, ensuring that the glue stays at the tip throughout your fletching tasks.
- Activator Holder: Each station includes a slot for holding the LCA Activator bottle at the ready.
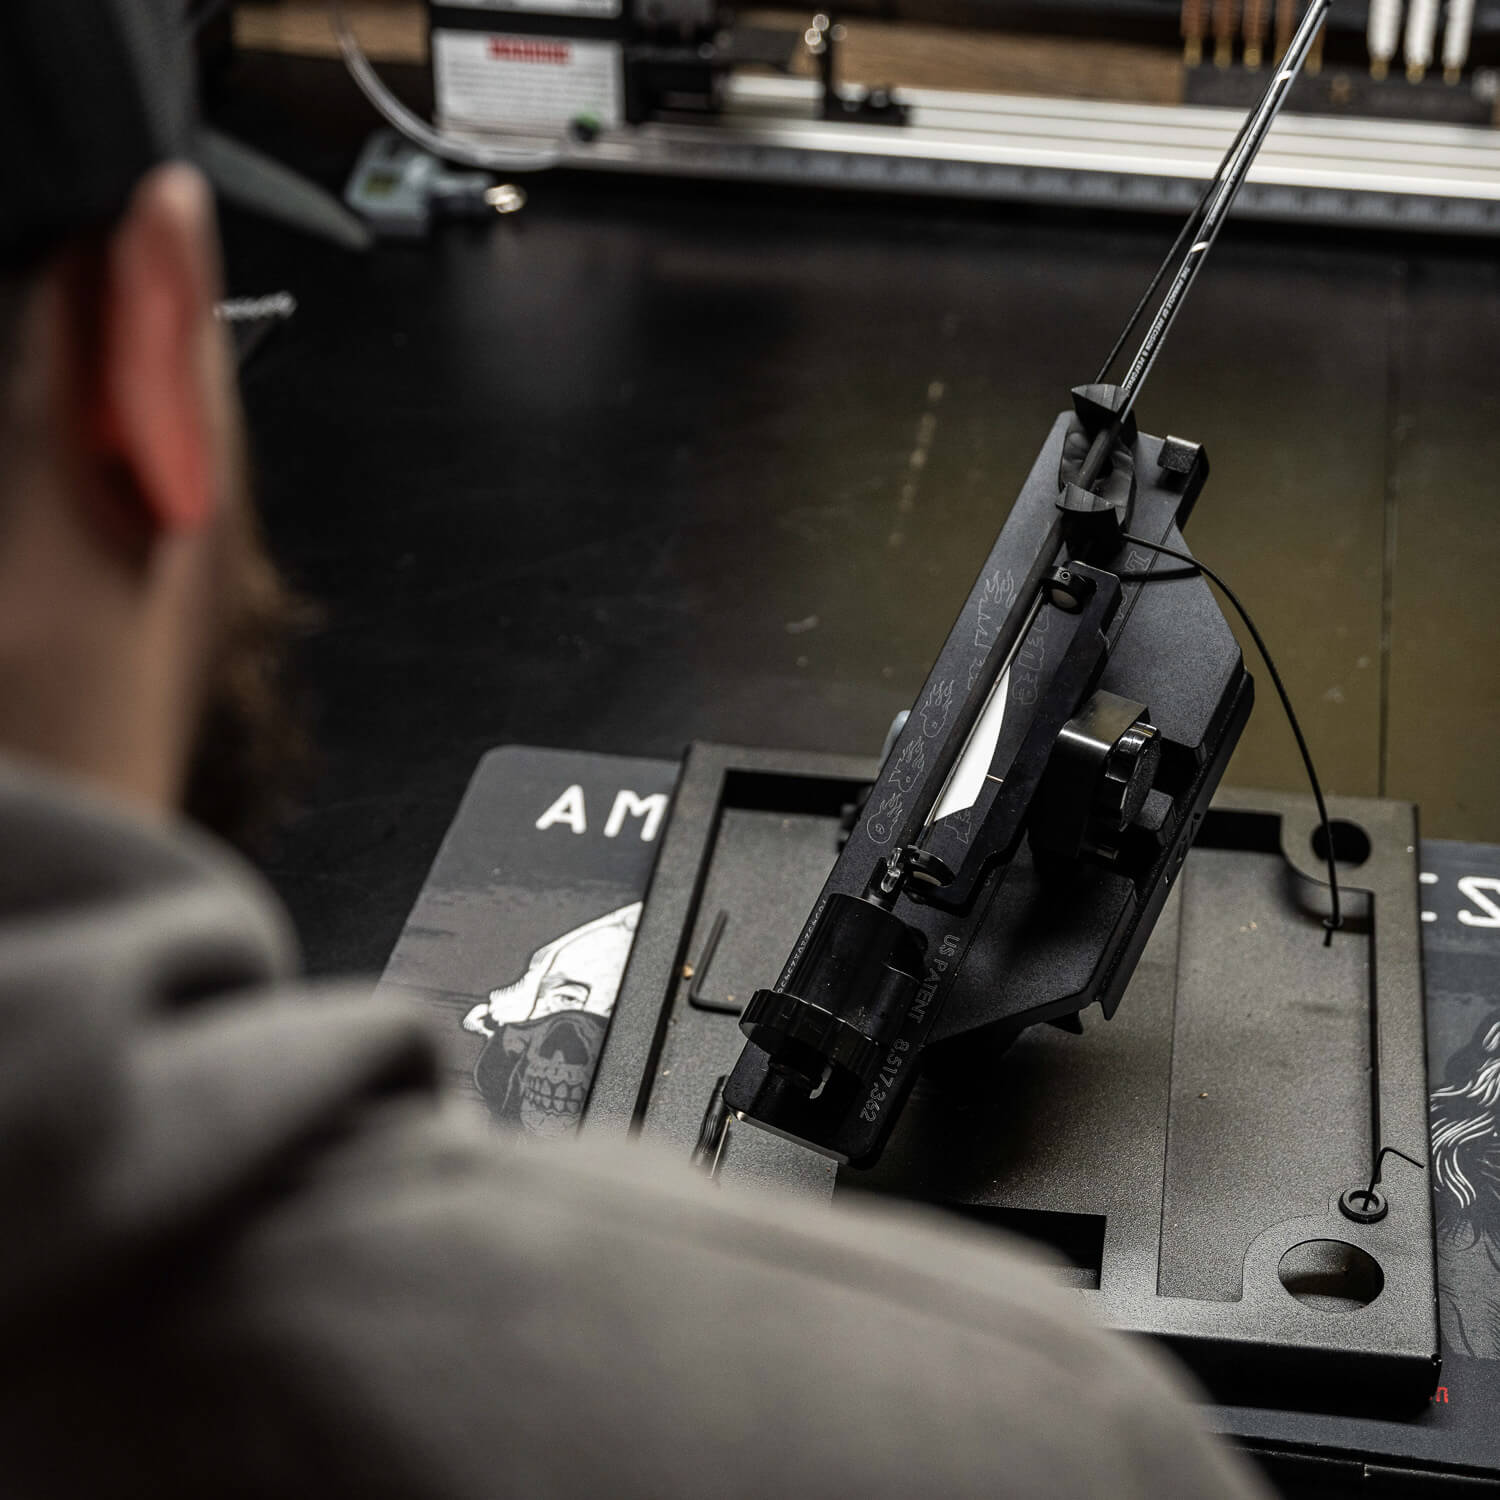
- Each station is an angled stand for the Vane Master PRO, saving space and improving accessibility.
- Durable solid steel construction.
- Slots to hold nocks, vanes, and misc. Items.
- 1 qty. VMP Fletching Station
- 4 qty. Rubber Feet
- Each station is built to hold the LCA Vane Master PRO. Additionally, it features spots designed to hold an LCA Glue and LCA Activator bottle.
A precisely crafted arrow is crucial for success in the field. At LCA, we aim to engineer and produce top-quality tools, and our arrow building product line demonstrates this commitment. Within that product line is the VMP Fletching Station, another tool designed to simplify the arrow-building process.
Built with Purpose
The VMP Fletching Station is built with a specific purpose in mind: to make things easier for the archer.
Long-Lasting Finish
The VMP Fletching Station uses a custom finish that is scratch-resistant and long-lasting.
Designed with End-Use in Mind
The VMP Fletching Station is built around the end-user experience. We don’t just design for looks—we design for function, durability, and ease-of-use in real-world applications.
Product Support
Questions? We've got answers. Our product support team is ready to help with guides, tips, and real solutions. If you need assistance with the VMP Fletching Station, please don't hesitate to contact our team.
Step 1: Preparing the VMP for Installation
-
Remove the existing rubber feet from the bottom of your Vane Master Pro (if installed).
-
Clean off any leftover adhesive using acetone, Goo Gone, or LCA activator.
-
Ensure the bottom surface is smooth and free of residue.
Step 2: Installing New Feet
-
Peel the paper backing off each of the four adhesive rubber feet.
-
Place the feet into the designated holes on the fletching station base.
-
Press each foot firmly so it sits flat inside the hole.
-
-
Slide your Vane Master Pro into the fletching station, tail end elevated.
-
Make sure the jig is straight, then press down firmly so the rubber feet bond to the jig’s base.
-
Remove the jig – the feet will now be perfectly aligned.
-
Reinsert the jig. You’re ready to use your VMP with the station.
Step 3: Features & Functions
The VMP Fletching Station is more than just a holder. It includes:
-
Angled Glue Holder
Keeps glue at the nozzle, so you don’t have to shake the bottle every time. -
Activator & Glue Storage
Dedicated holders keep bottles upright and easily accessible. -
Accessory Compartments
Store vanes, wraps, nocks, or small tools directly in the station. -
Tool Keeper (Rubber Grommet)
Prevents losing small parts:-
Holds up to 3 helical setting pins
-
Holds the Allen wrench for the rotating disc
-
Everything stays organized and secure so you can transport the full setup easily.
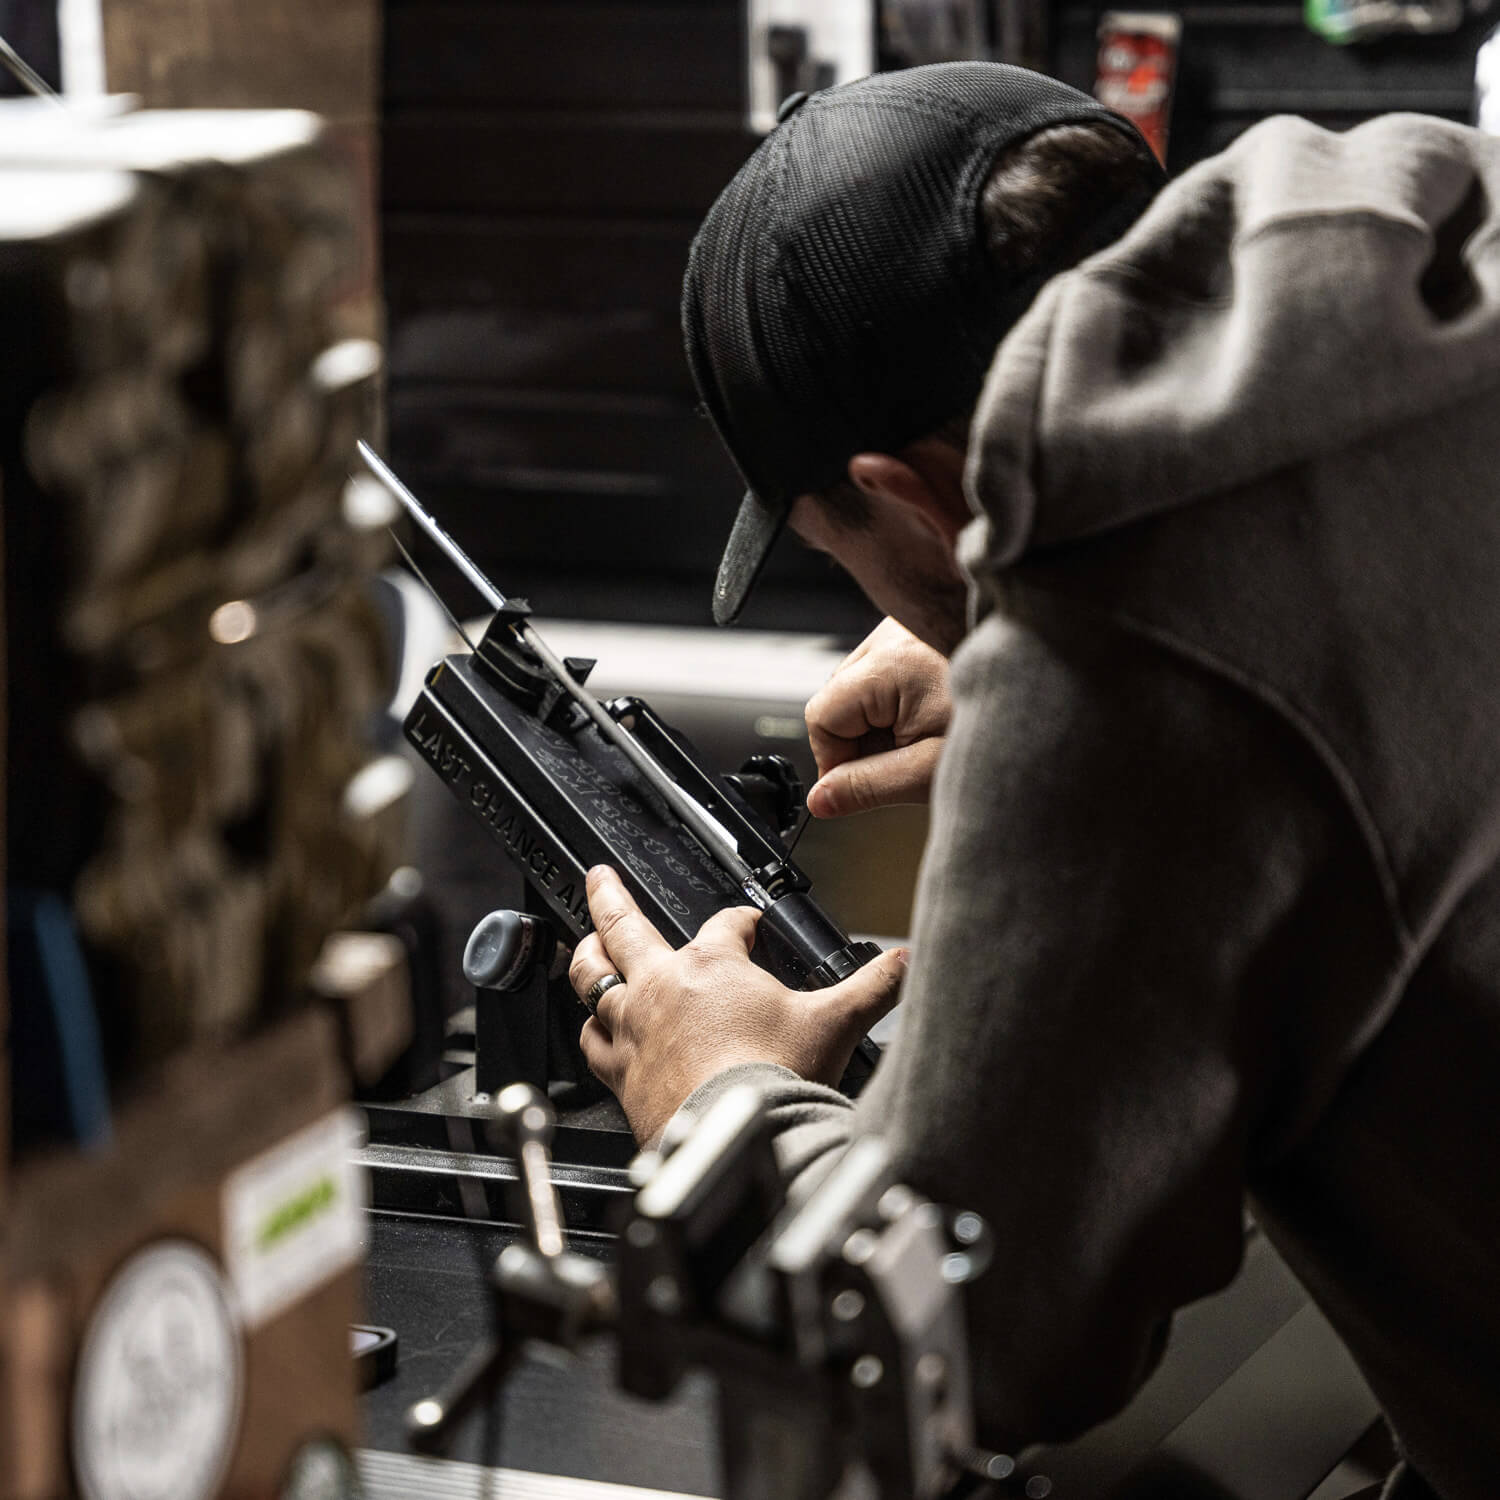
Step 4: Using the Station
-
Place your jig into the angled holder.
-
Insert glue into the angled holder after each application to keep it primed.
-
Store activator, helical pins, Allen wrench, and other accessories in their dedicated spots.
-
Begin fletching — your arrow will sit at an angle, saving space and making glue application easier.
Videos
VMP Fletching Station + Instructional
Join LCA’s Jonathan Clark as he demonstrates how to set up and use the VMP Fletching Station.
BUY NOW: https://lastchancearchery.com/shop-1/vmp-fletching-station
Additional information
| Weight | 3 lbs |
|---|---|
| Dimensions | 9 × 13 × 12 in |
| Product Lead Time (Wks) | 1 |
1 review for VMP Fletching Station
- Each VMP Fletching Station is customized.
Additional information
| Weight | 3 lbs |
|---|---|
| Dimensions | 9 × 13 × 12 in |
| Product Lead Time (Wks) | 1 |
- Warranty Period
- 1 Year
- Coverage
- Full Product
1 review for VMP Fletching Station
-
Efficient
The stand makes fletching easier and more efficient.
Related Products
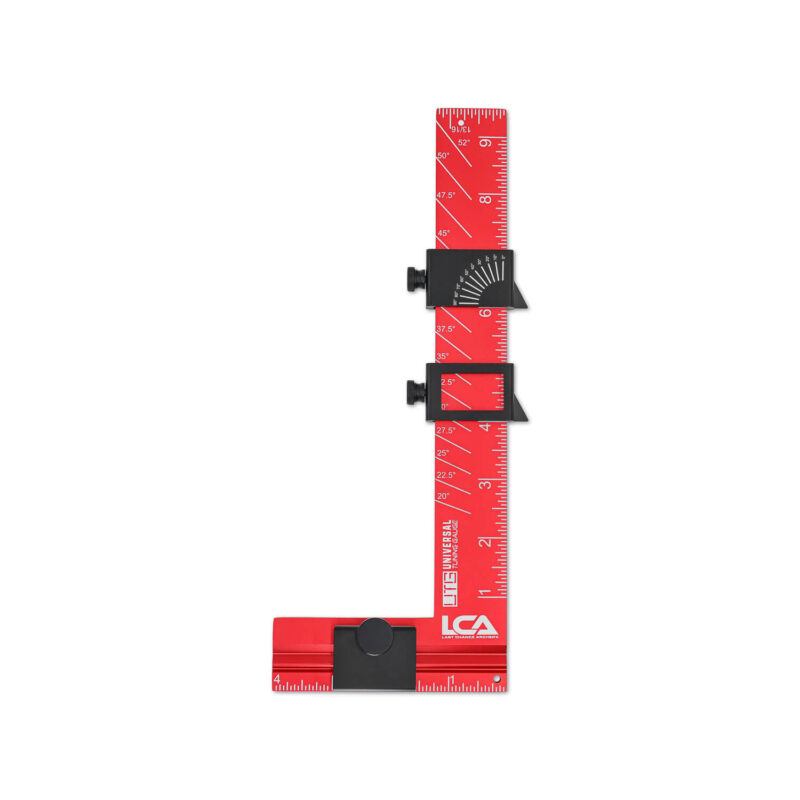
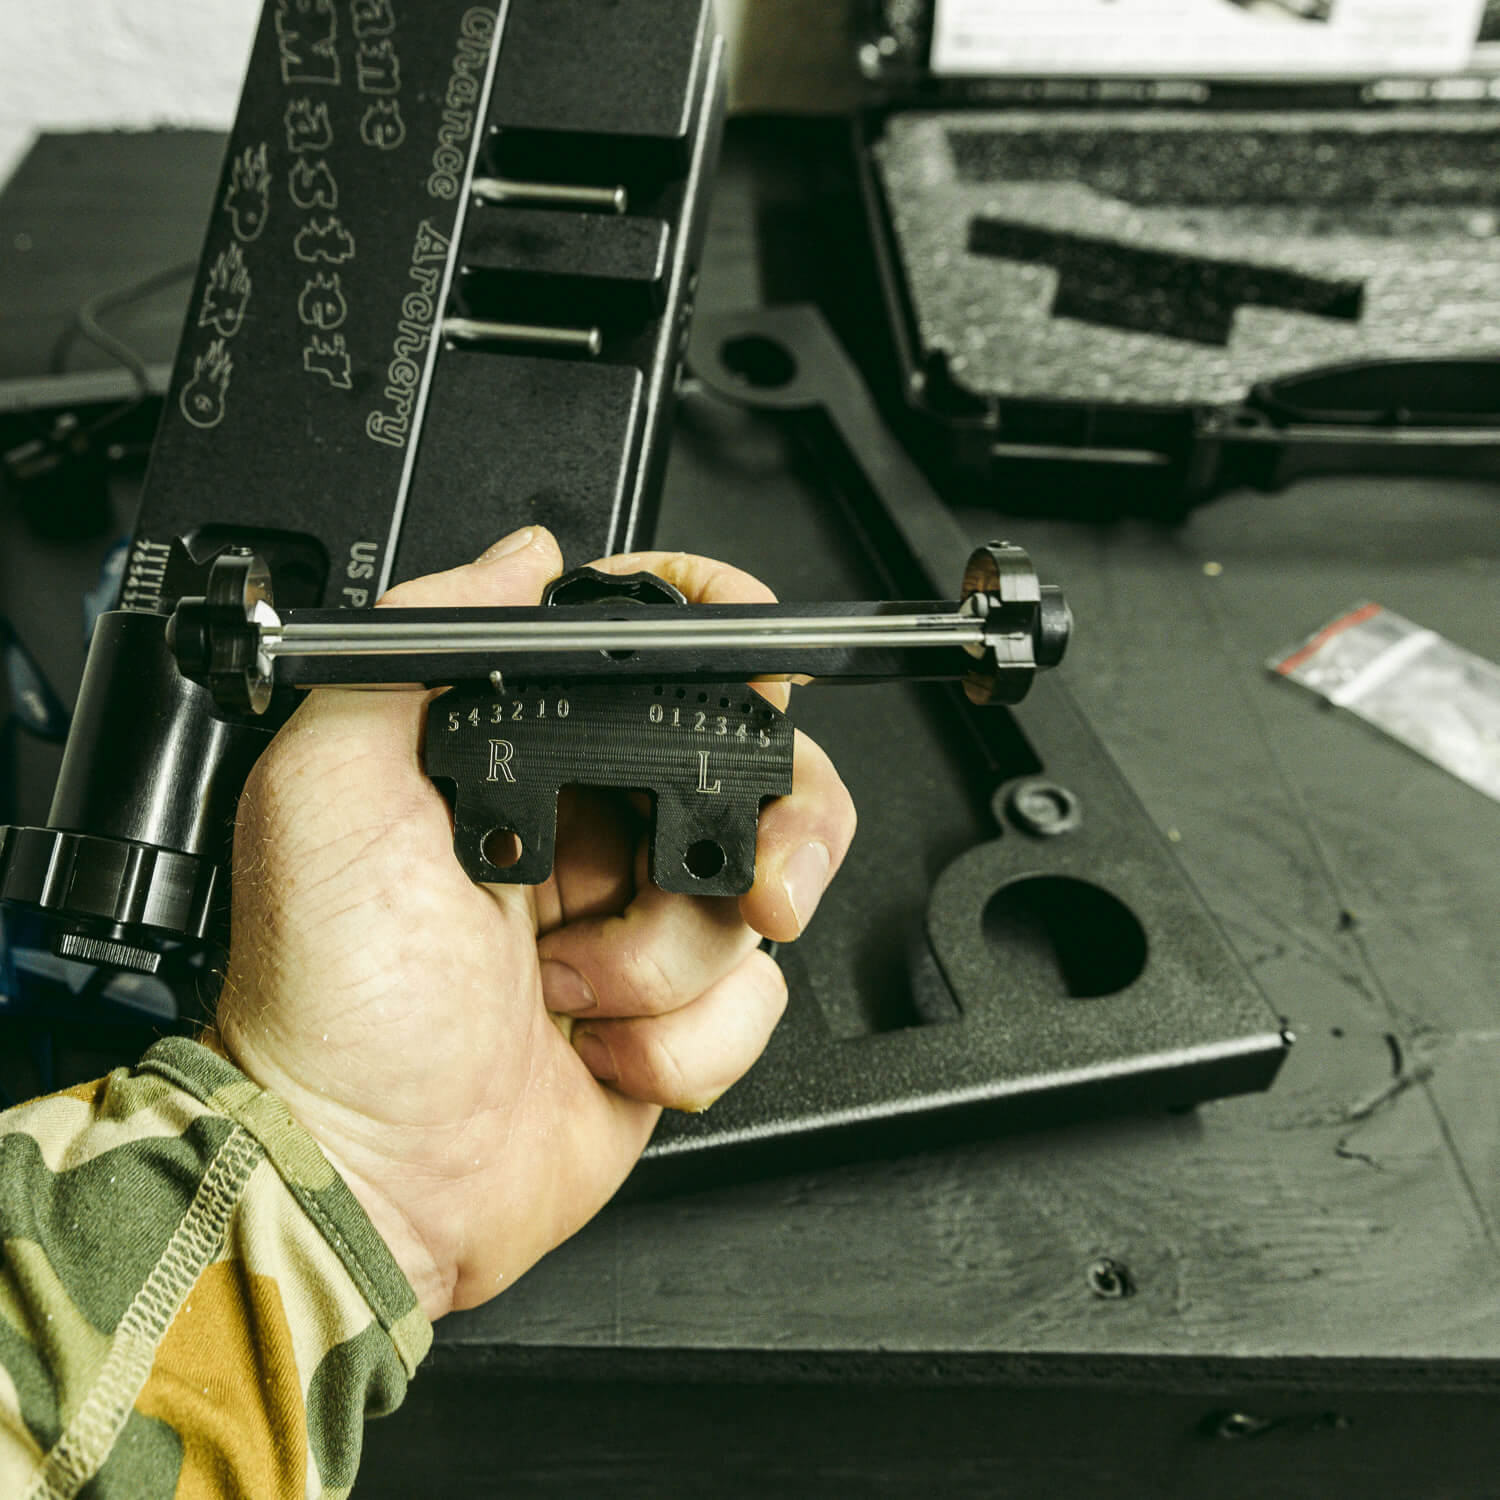
Universal Tuning Gauge
The Universal Tuning Gauge is for serious archers and bow technicians. It’s…
$69.00
Arrow Wraps - Solid Series
Our solid color arrow wraps deliver a clean, consistent look while maintaining…
$25.50

Arrow Wraps - Topo Series
LCA arrow wraps bring a new level of convenience, value, and precision…
$25.50

Arrow Wraps - Topo Inverse Series
LCA arrow wraps bring a new level of convenience, value, and precision…
$25.50
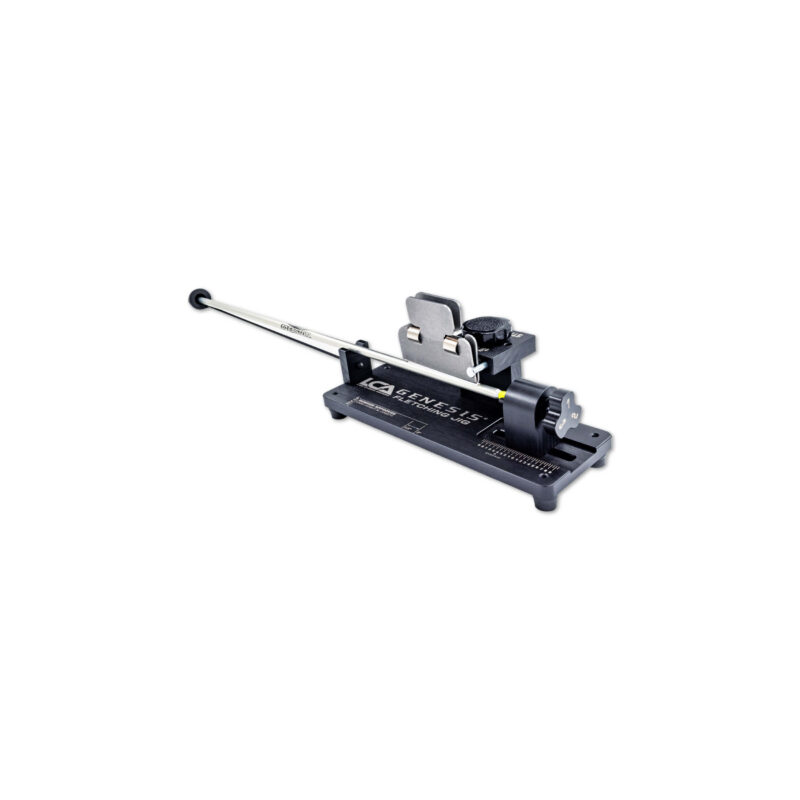
Genesis Fletching Jig
Compatible with any arrow diameter, standard nock styles, and any vane or…
$129.00
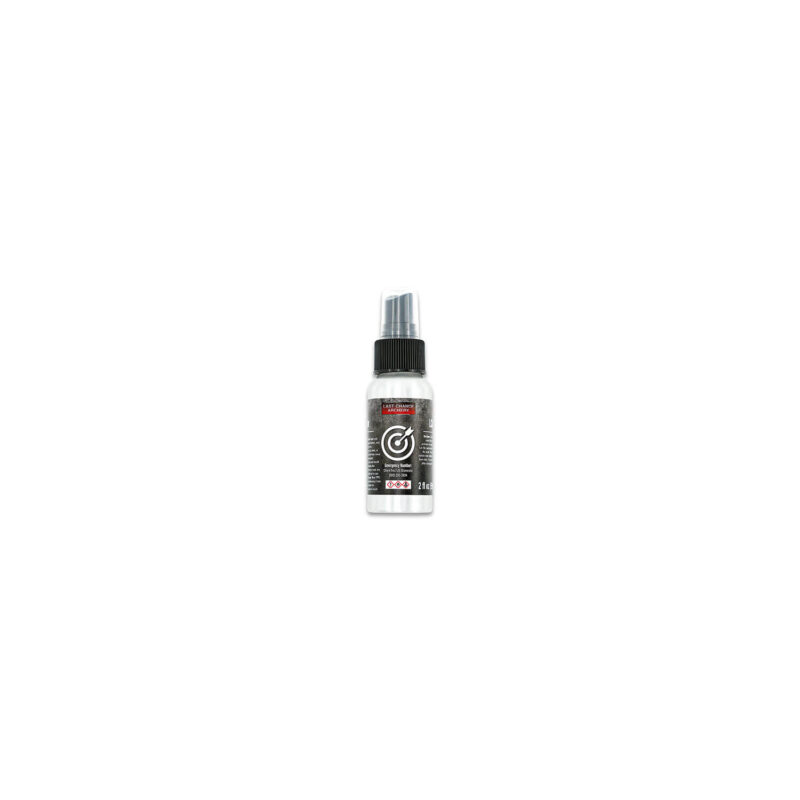
LCA Arrow & Vane Fletching Glue Activator
LCA Activator is a versatile product designed to enhance the fletching process…
$16.00
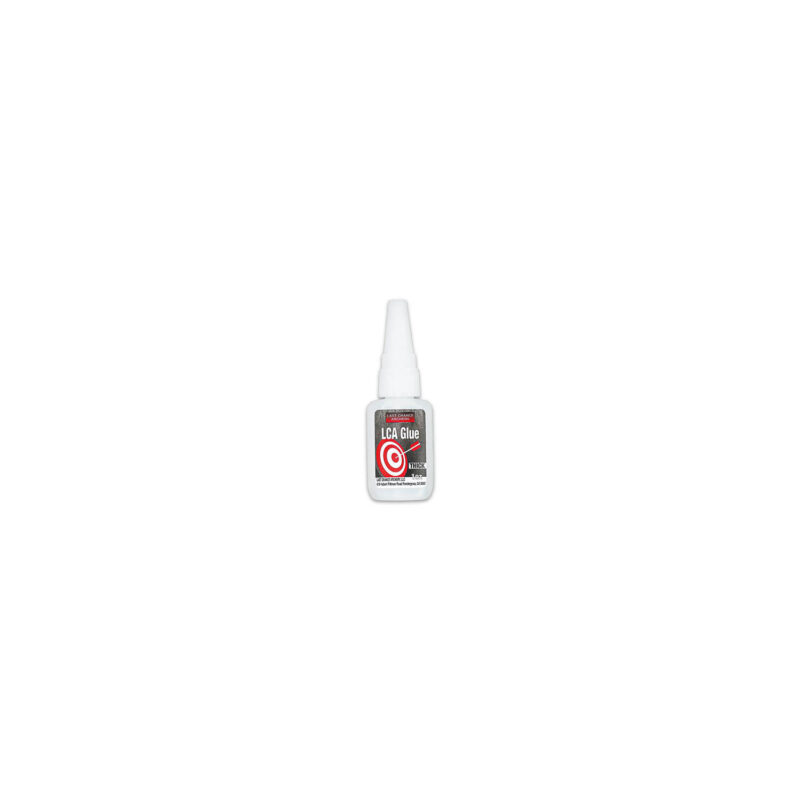
LCA Arrow & Vane Fletching Glue
LCA Glue is a high-performance adhesive specially formulated for archery and various…
$14.00
LCA Arrow Stand
The LCA Arrow Stand is an excellent addition to your arrow-building station.…
$60.00
Fletching Jig knob for 4 vane arrows
Upgrade your arrow performance with the LCA 4 Fletch Knob, designed for…
$25.00
Ready Blade
The Ready Blade is a precision knife purpose-built for archers—perfect for cutting…
$24.00
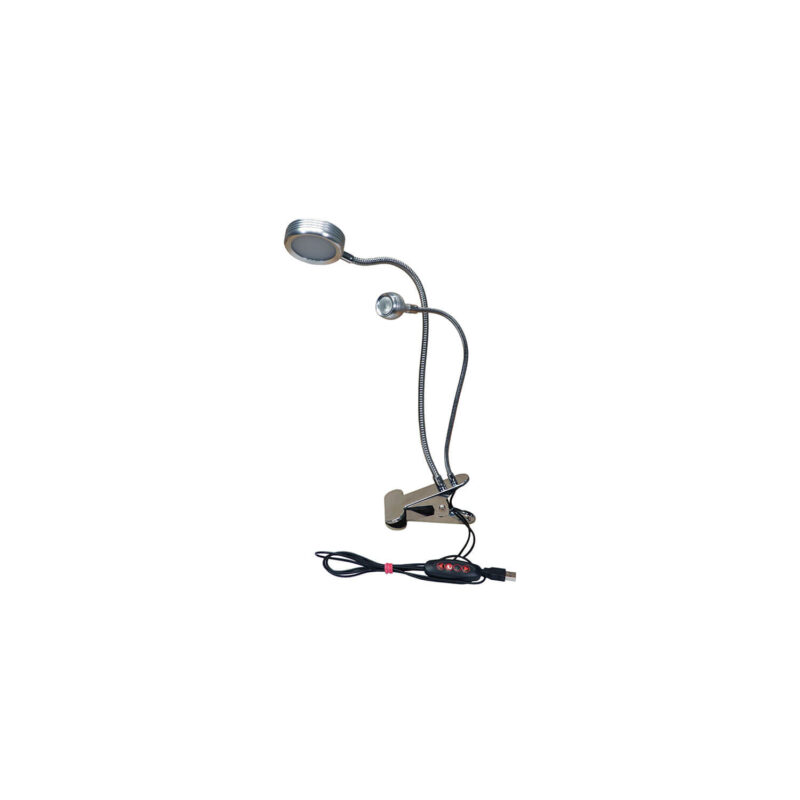
Double Bright
Illuminate your workflow with this dual-light clamp system—featuring one wide beam and…
$32.00
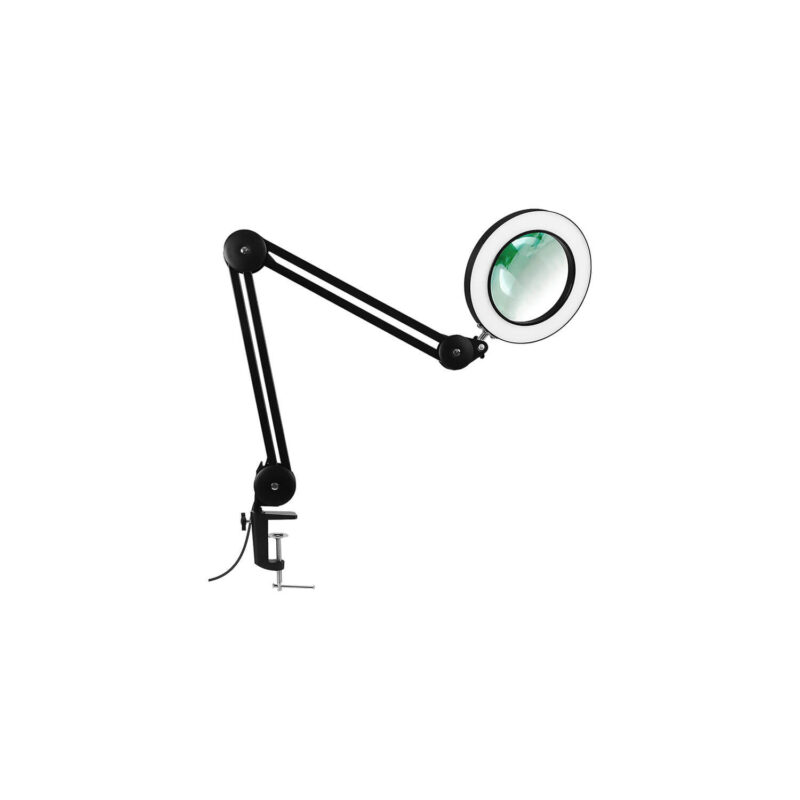
MagBright5X
MagBright5X – Illuminate, Magnify, and Work Hands-Free The MagBright5X is your ultimate…
$49.00
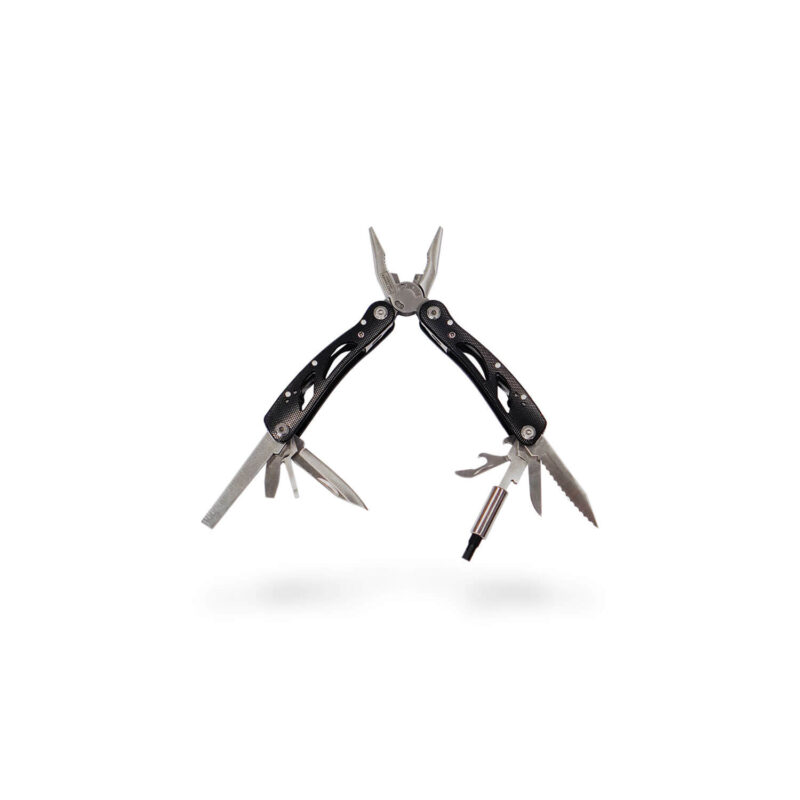
Pocket Shop
The Pocket Shop is a compact 20-in-1 multi-tool, specifically engineered for outdoor…
$29.00
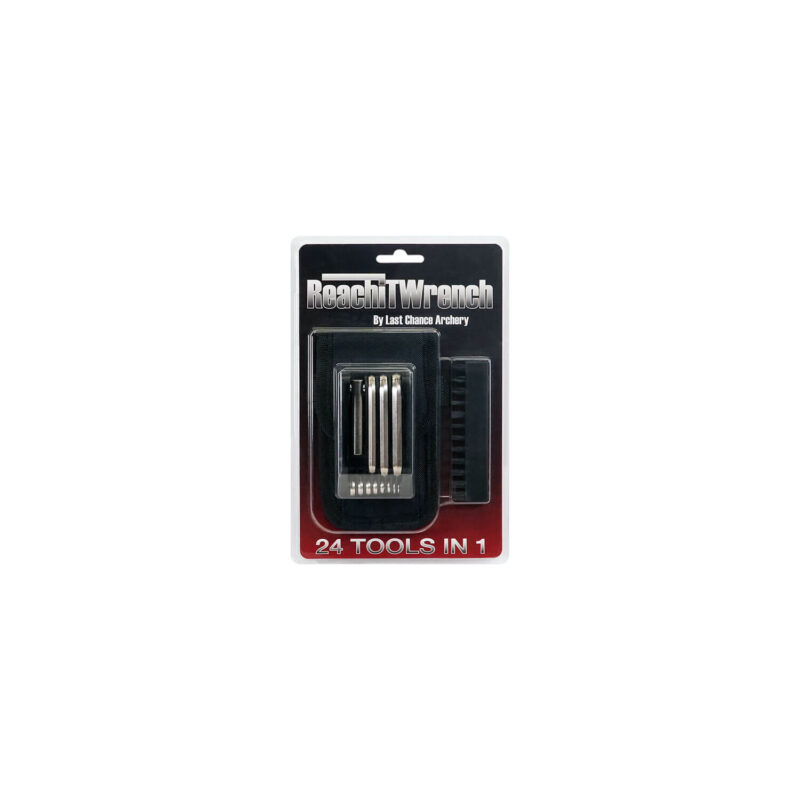
ReachIt Wrench
The ReachIt Wrench from Last Chance Archery is a compact, all-in-one solution…
$39.00

dillon rowley –
Efficient
The stand makes fletching easier and more efficient.