

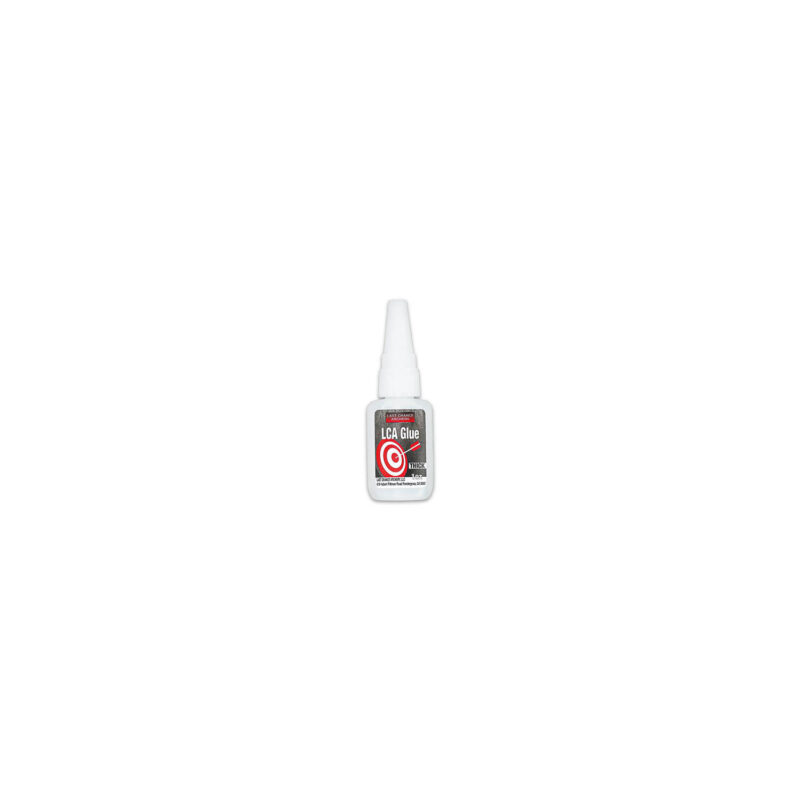
Replacement – VMP Cover Set
$10.00
These replacement wire covers are designed for the Vane Master PRO’s Vane Flat Technology system. Made with a glue-resistant coating, they help minimize adhesive buildup during fletching, ensuring a clean and consistent bond between the vane and shaft. These are direct replacements for the original covers that slide over the wires of your VMP clamp. Ideal for restoring performance after wear or heavy use.
Lead Time: 1 week(s)
- Direct replacement for the original VMP wire covers
- Glue-resistant coating for cleaner fletching jobs
- Protects wires from adhesive buildup over time
- Maintains precise vane alignment and adhesion
- Easy to install and remove
- 1 qty. Replacement – VMP Cover Set
- Each set includes two pieces.
- This VMP Cover Set is compatible with the Vane Master PRO fletching jig clamp wires.
A precisely crafted arrow is a key to success in the field. At LCA, we strive to engineer and produce high-quality tools, and our arrow building product line exemplifies this dedication.
Durable Build
Every LCA product features a durable build, designed to withstand the demands of daily use in the shop or the field.
Hand-Assembled Craftsmanship
Built by real hands, with real pride. Our hand-assembled process guarantees unmatched attention to detail and quality.
Archery Innovation
Innovation isn't just part of what we do—it defines it. We're redefining the standard for precision in modern archery.
Zero-Compromise Manufacturing
From raw material to final inspection, we hold every process to the highest standard because grade A performance demands zero compromise.
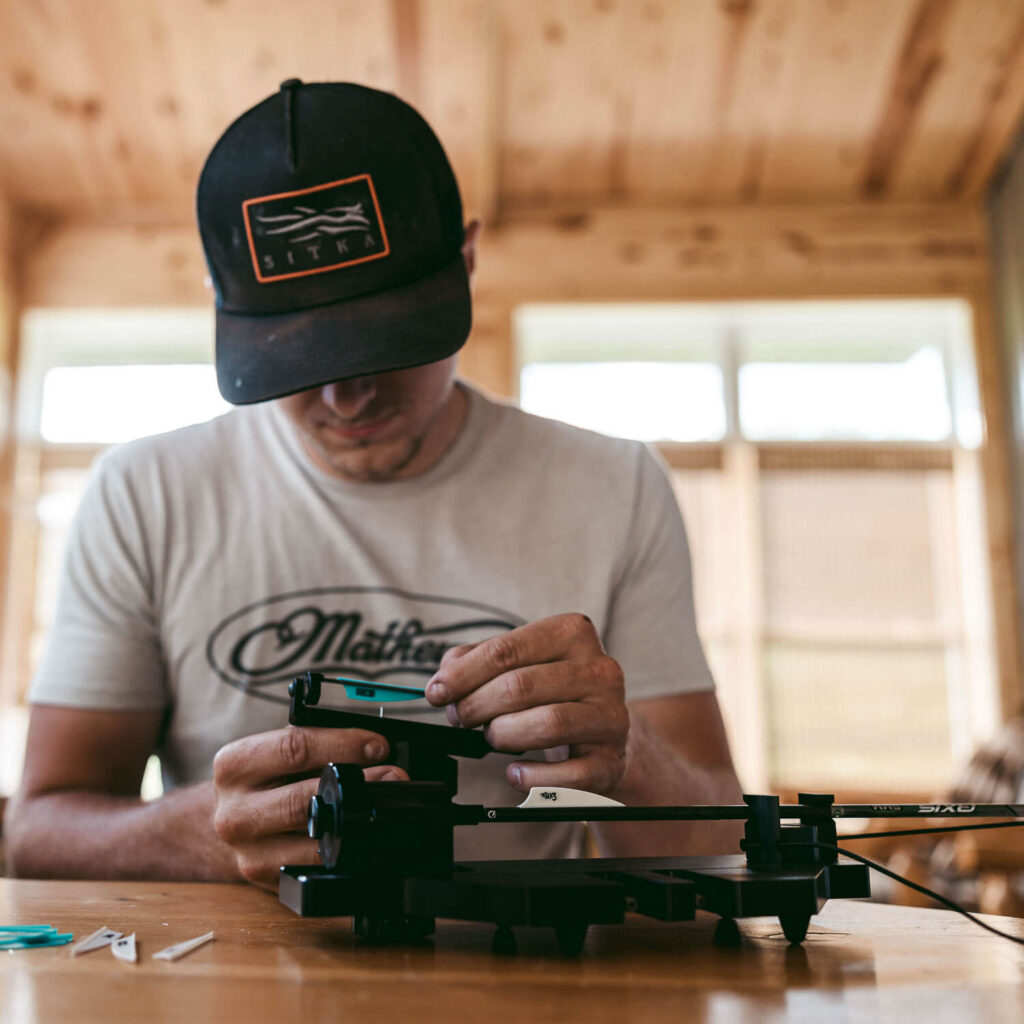
VMP Wire-Coating (Sleeve) Replacement — Step-by-Step
This guide shows how to replace the clear heat-shrink sleeves on the Vane Master Pro (VMP) clamp wires.
What you’ll need
-
Replacement wire coatings (heat-shrink sleeves)
-
Allen wrench (for the two disc screws)
-
Sharp hobby knife/razor
-
Preferred: Heat gun or hair dryer
If using a lighter: keep the flame off the sleeve; use only the hot air above the flame -
Optional: small scissors, microfiber cloth
Before you start
-
Take a quick photo of the assembly so you can match wire orientation during reassembly.
-
Length matters: New sleeves must be the same length or slightly shorter than the originals. If they’re too long, they’ll “jam” against the discs and won’t fit back in the arm.
1) Remove the wire assembly
-
Loosen and remove the screw on one disc; set screw aside.
-
Loosen and remove the screw on the opposite disc.
-
Slide both discs out of the arm and remove the wire pair.
Tip: The wire ends sit inside the discs. Keep track of how they were inserted.
2) Measure and prep the new sleeves
-
Lay a new sleeve beside the old sleeve on the wire to match length.
-
Trim the new sleeve to be equal or a hair shorter than the old. Repeat for the second sleeve.
3) Remove the old sleeves (don’t damage the colored tips)
-
Place a fingertip over the colored end marker on the wire to protect it.
-
Lightly score the old sleeve lengthwise with the knife (don’t cut the wire).
-
Peel the sleeve off. Remove any remaining ring at the end with your fingernail—do not scrape the color off.
4) Reinsert wires into the first disc
-
Slide both bare wires back into one disc (like before).
-
Keep the original orientation (match your photo). Jonathan’s demo shows red = left, black = right relative to the user, but go by your photo if unsure.
5) Install and shrink the new sleeves
-
Slide each new sleeve onto its wire until it stops just short of the disc edge (don’t let sleeve enter the disc).
-
Apply heat evenly along each sleeve until it fully conforms—pay extra attention near the disc.
-
Heat gun/hair dryer: best choice.
-
Lighter: use hot air above the flame; never touch flame to sleeve.
-
-
Let cool a few seconds.
6) Add the second disc
-
Insert wire ends into the second disc, matching the same left/right orientation.
-
Make sure both sleeves aren’t pinched in the disc and the discs sit flat.
7) Reinstall to the arm
-
Place the disc/wire/disc “sandwich” back into the arm.
-
Start each screw by hand to avoid cross-threading, then snug with the Allen wrench. Do not over-tighten.
Final checks
-
Discs seat fully in the arm and the assembly moves/adjusts normally.
-
Sleeves are smooth (no bubbles or fat spots) and not contacting the disc faces.
-
Clamp a vane (dry fit) to confirm wires close flush with even contact.
Troubleshooting
-
Won’t fit back into the arm / discs won’t seat: Sleeves are too long or bulged → remove, trim 1–2 mm, re-shrink evenly.
-
Sleeve scorched or wrinkled: Too much heat or direct flame → replace sleeve; use gentler, moving heat.
-
Vanes don’t sit flat: Re-adjust wire discs in the jig for full-length quill/vane contact; lock the disc set screws lightly.
-
Lost orientation: Use your reference photo; otherwise set red/black to match the opposite arm, or test-fit to ensure correct helical presentation.
Care tip
After fletching, wipe sleeves with a microfiber cloth to remove fresh glue. This prevents buildup and extends sleeve life.
Videos

VMP Wire Coating Replacement
Are you looking for instructions on changing the wire covers on your Vane Master Pro? Look no further, as this is a concise yet detailed video explaining step-by-step how to remove and install the new clean coating.
Additional information
| Weight | 0.0625 lbs |
|---|---|
| Dimensions | 2 × 5 × 0.25 in |
| Product Lead Time (Wks) | 1 |
4 reviews for Replacement – VMP Cover Set
- Material: Glue-resistant Teflon
- Color: Clear
- Length: 4.20” (approx.)
- These covers are shipped long. After heating, the covers’ length can vary, so trimming may be necessary to achieve a customized fit.
- OD: 5/64” fit when heated down
- ID: 1/16” fit when heated down
Additional information
| Weight | 0.0625 lbs |
|---|---|
| Dimensions | 2 × 5 × 0.25 in |
| Product Lead Time (Wks) | 1 |
- Warranty Period
- 30 Days
- Coverage
- Manufacturing Defects Only
4 reviews for Replacement – VMP Cover Set
-
VANE MASTER PRO
NEED REPLACEMENTS FOR THE WIRE COVERS.THE PERSON KNEW WHAT I NEEDED AND IT WAS SENT OUT PROMPTLY.GREAT SERVICE THANKS
-
They Work
Not much to say. They fit and work as expected.
-
Just what I needed
After 3+ years of occasional use, the old wire covers were too gummed up. These were easy to replace, just trim to match the length of the old ones you took off. I tried the hair dryer method shown in the video, but that didn’t work for shrinking them down to size. Required a little bit more heat – quick pass in front of the propane torch did the trick.
-
Great Product
A great replacement to when you get all the use out of the originals.
You may also like…
Related Products
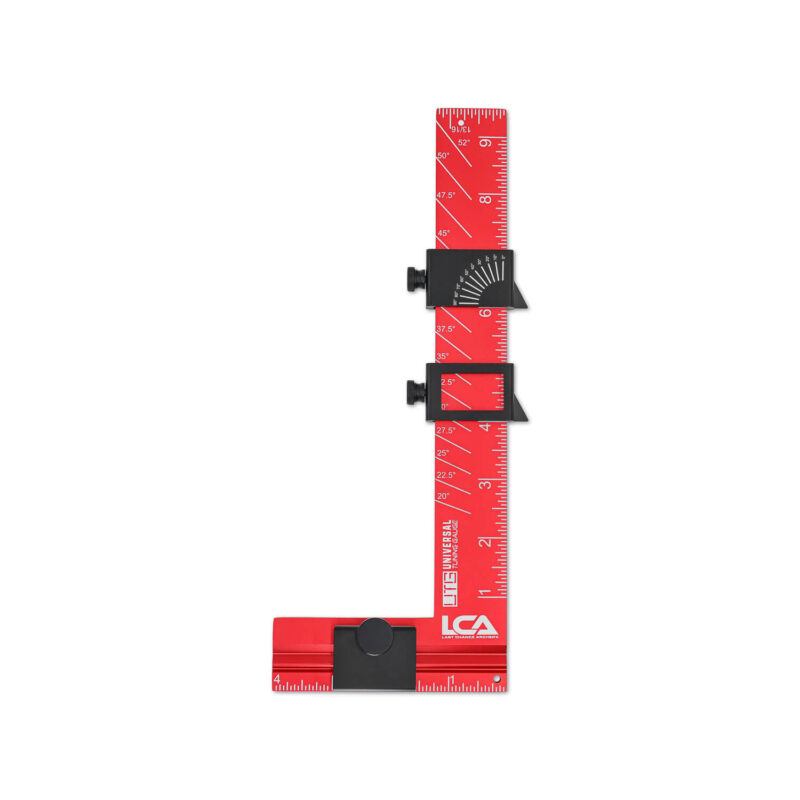
Universal Tuning Gauge
The Universal Tuning Gauge is for serious archers and bow technicians. It’s…
$69.00
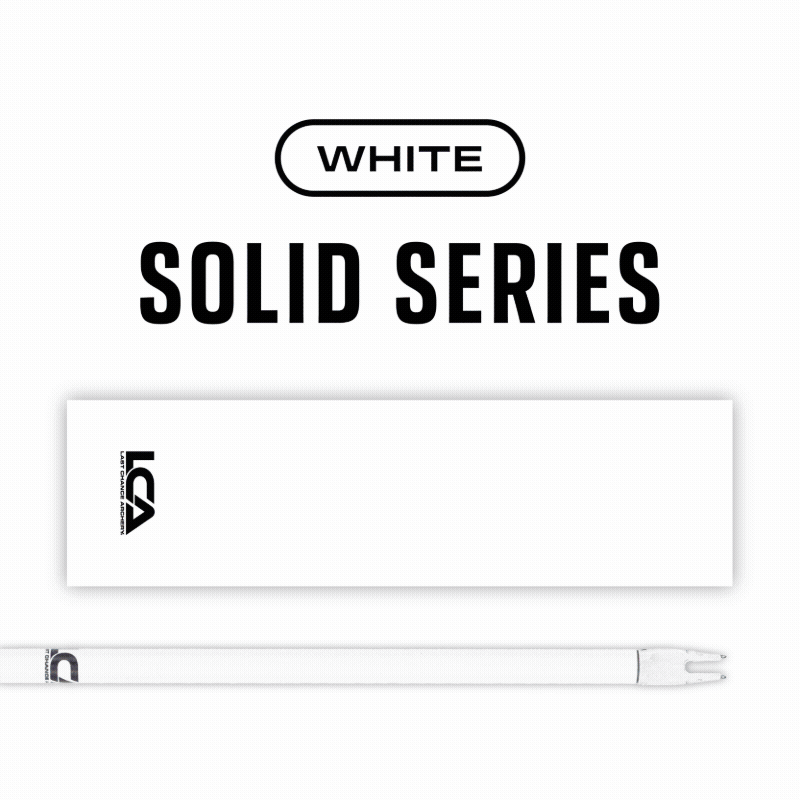
Arrow Wraps - Solid Series
Our solid color arrow wraps deliver a clean, consistent look while maintaining…
$25.50

Arrow Wraps - Topo Series
LCA arrow wraps bring a new level of convenience, value, and precision…
$25.50
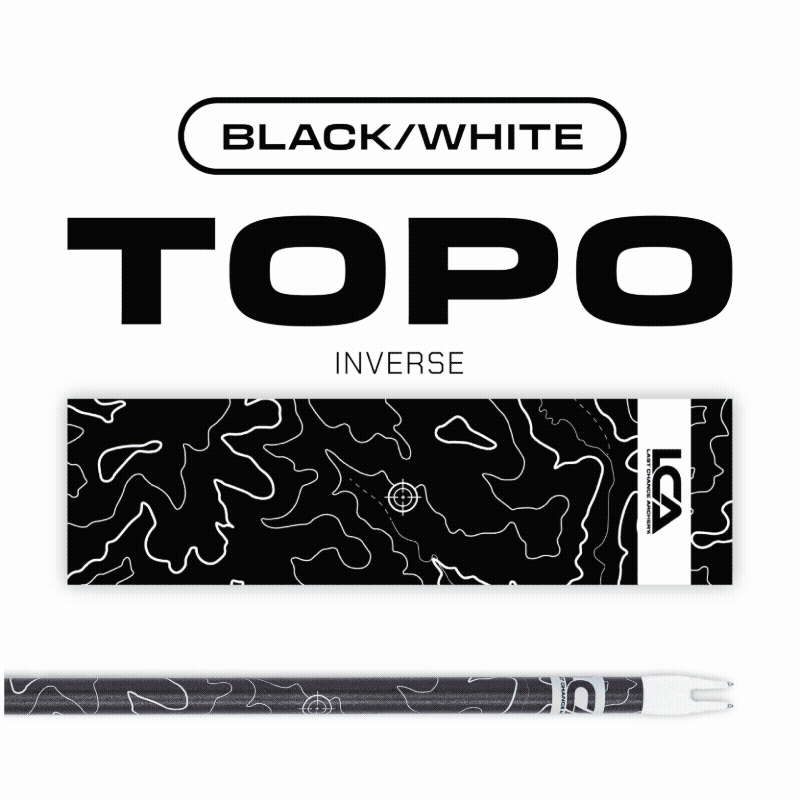
Arrow Wraps - Topo Inverse Series
LCA arrow wraps bring a new level of convenience, value, and precision…
$25.50
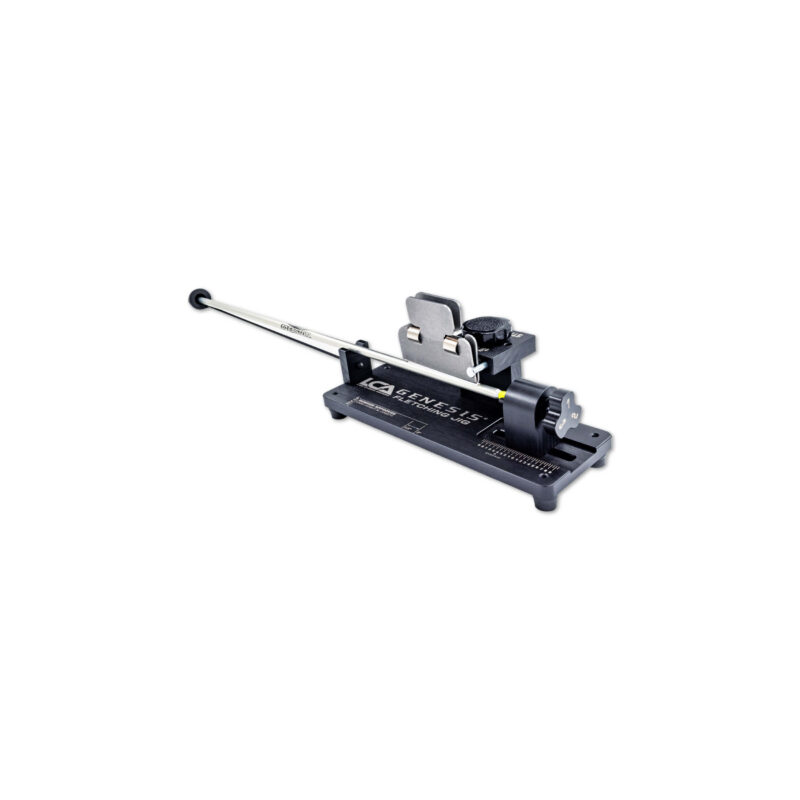
Genesis Fletching Jig
Compatible with any arrow diameter, standard nock styles, and any vane or…
$129.00

Replacement - VMP Wire Set
This Replacement VMP Wire Set is a factory-direct replacement for the Vane…
$20.00
Fletching Jig knob for 4 vane arrows
Upgrade your arrow performance with the LCA 4 Fletch Knob, designed for…
$25.00
VMP Fletching Station
The VMP Fletching Station is designed to keep all your fletching tools…
$139.00
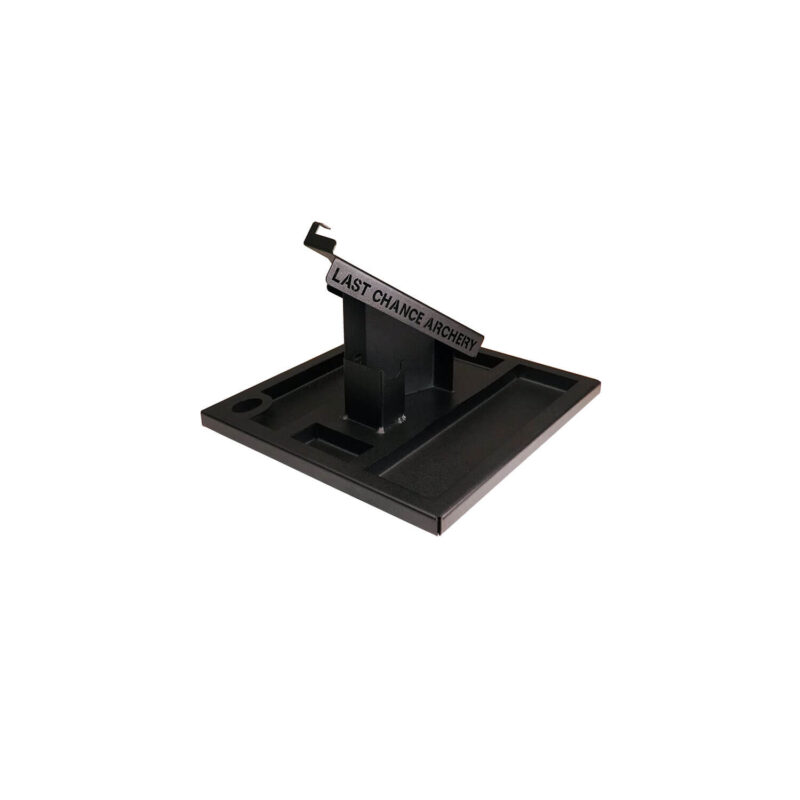
LCA Arrow Stand
The LCA Arrow Stand is an excellent addition to your arrow-building station.…
$60.00
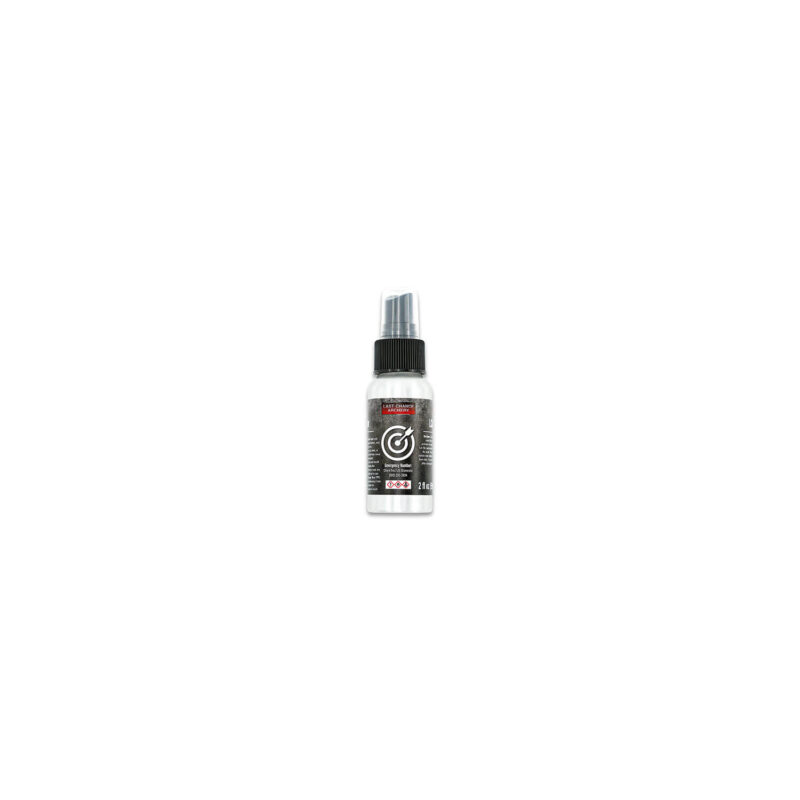
LCA Arrow & Vane Fletching Glue Activator
LCA Activator is a versatile product designed to enhance the fletching process…
$16.00
LCA Arrow & Vane Fletching Glue
LCA Glue is a high-performance adhesive specially formulated for archery and various…
$14.00
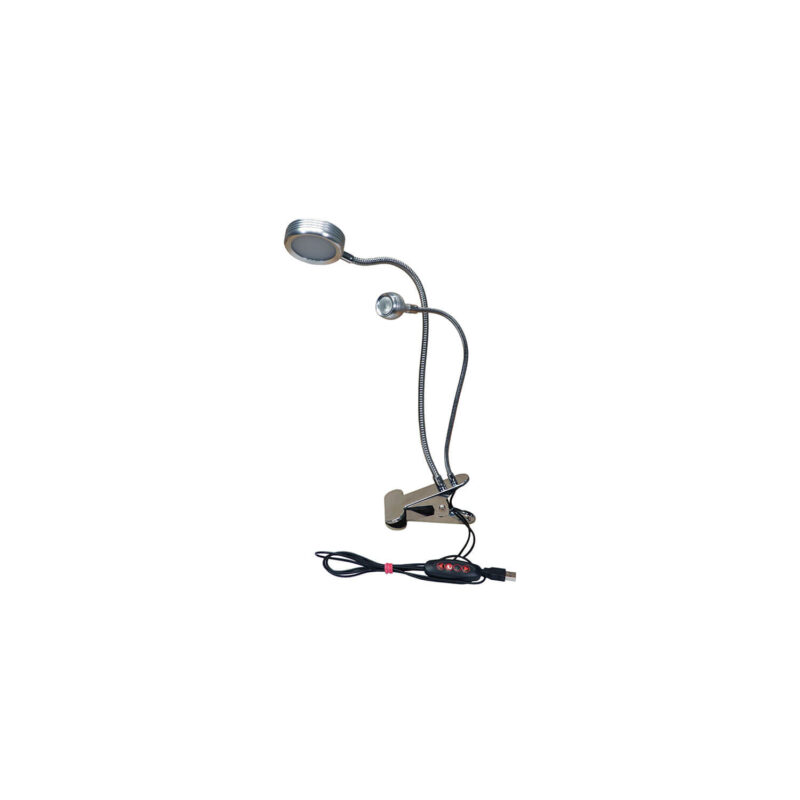
Double Bright
Illuminate your workflow with this dual-light clamp system—featuring one wide beam and…
$32.00
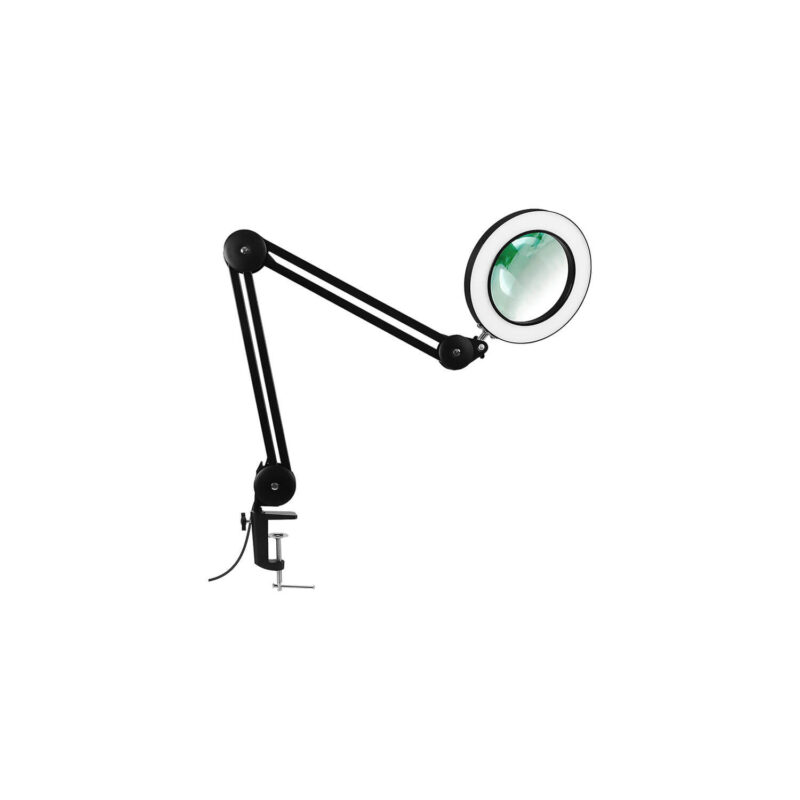
MagBright5X
MagBright5X – Illuminate, Magnify, and Work Hands-Free The MagBright5X is your ultimate…
$49.00
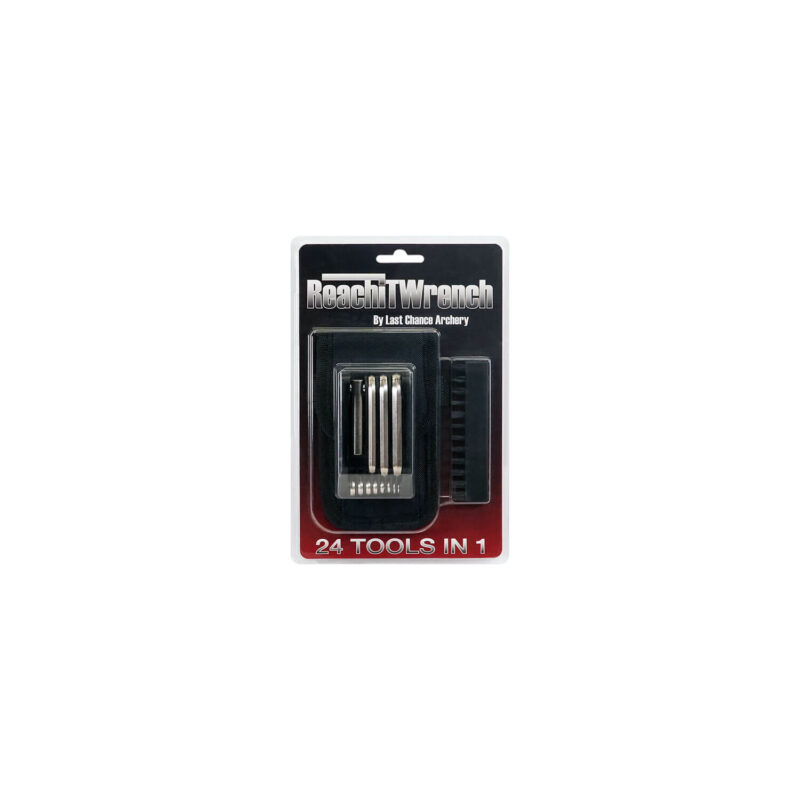
ReachIt Wrench
The ReachIt Wrench from Last Chance Archery is a compact, all-in-one solution…
$39.00
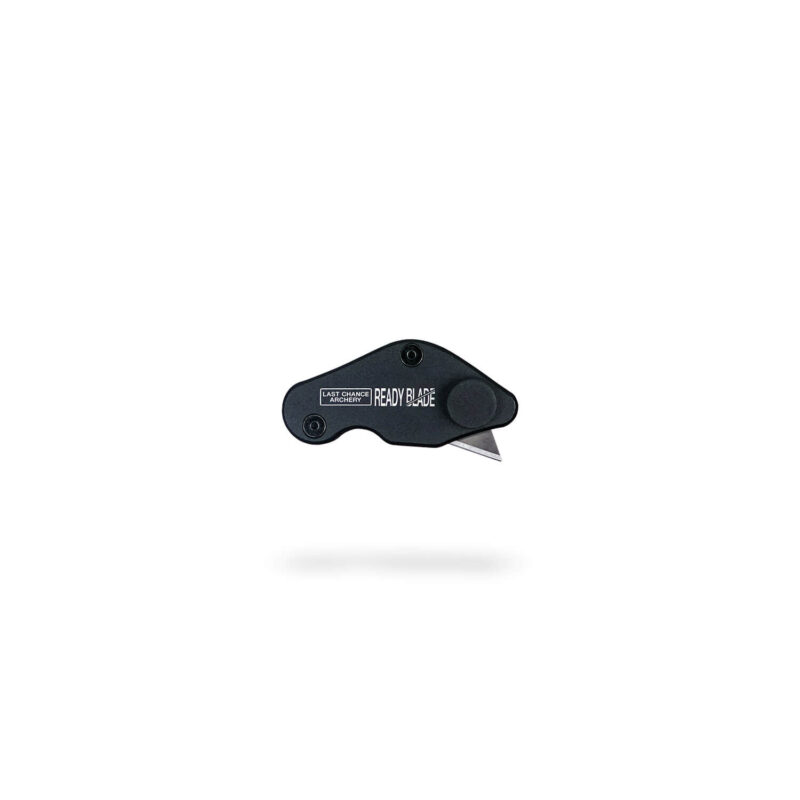
Ready Blade
The Ready Blade is a precision knife purpose-built for archers—perfect for cutting…
$24.00
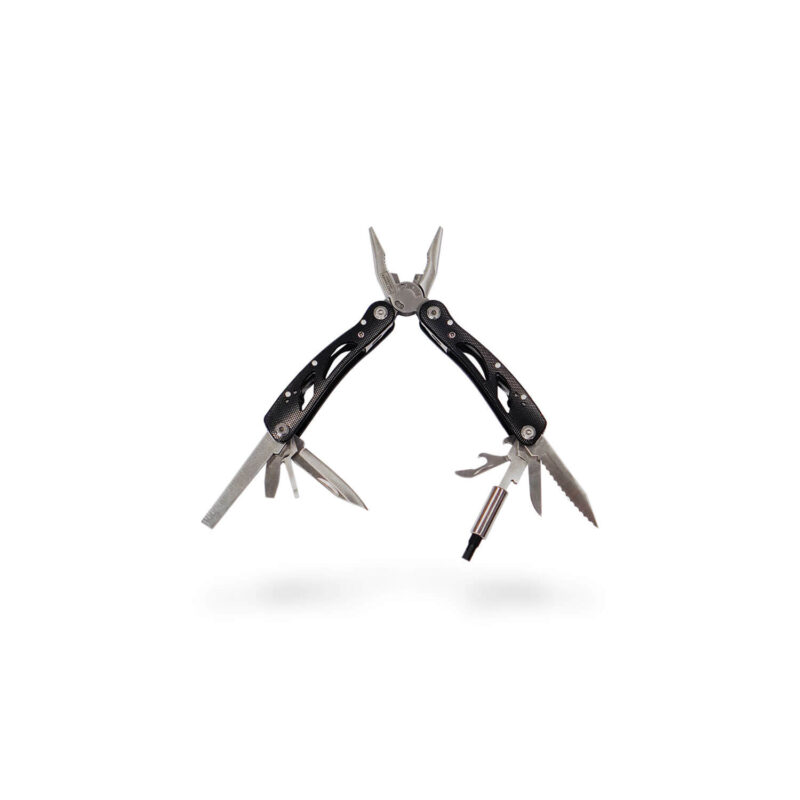
Pocket Shop
The Pocket Shop is a compact 20-in-1 multi-tool, specifically engineered for outdoor…
$29.00

Robert Quinlan –
VANE MASTER PRO
NEED REPLACEMENTS FOR THE WIRE COVERS.THE PERSON KNEW WHAT I NEEDED AND IT WAS SENT OUT PROMPTLY.GREAT SERVICE THANKS
Eric Obrochta –
They Work
Not much to say. They fit and work as expected.
Bill Troup –
Just what I needed
After 3+ years of occasional use, the old wire covers were too gummed up. These were easy to replace, just trim to match the length of the old ones you took off. I tried the hair dryer method shown in the video, but that didn’t work for shrinking them down to size. Required a little bit more heat – quick pass in front of the propane torch did the trick.
michael huff –
Great Product
A great replacement to when you get all the use out of the originals.