
Revolution Arrow Saw – 230V
$599.00
The Revolution Arrow Saw is a complete arrow-cutting station designed for precision, cleanliness, and safety. The included water drip system and vacuum attachment dramatically reduces harmful carbon dust, while the 10,000 RPM motor delivers clean, quiet cuts. More than just a saw, it includes tools for deburring, squaring, internal shaft cleaning, and checking straightness with the built-in arrow spinners, making it an all-in-one solution for serious archers who want to build more accurate arrow setups.
Lead Time: 3 week(s)
- Compact arrow saw with vacuum and water drip attachments.
- Enclosed housing for quieter cuts and reduced carbon dust
- Built-in arrow spinners for checking shaft straightness
- Deburring and squaring tools for clean shaft ends.
- Cuts arrows with or without nocks and vanes
- Wire and mop brushes for internal shaft cleaning
- Broadhead tightening tool included
- Quick-adjust design for cutting any arrow length
- Precision settings for consistently straight cuts
- 10,000 RPM motor for fast, accurate, but quiet operation
- 1 qty. 230V – Revolution Arrow Saw (base and feet)
- 1 qty. RAS – Arrow stop assembly
- 2 qty. RAS – Spinner bracket assemblies
- 1 qty. 10,000 RPM motor, chuck, lock nut, and cutting blade
- 1 qty. Shaft squaring device with squaring disc installed
- 1 qty. Deburring tool
- 5 qty. Assorted wire brushes (5 sizes included)
- 5 qty. Assorted mop brushes (3 sizes included)
- 1 qty. Accessory plate with broadhead tool
- Cuts any shaft diameter and material.
- Cuts arrows with or without vanes.
- Cuts arrows with or without nocks.
A precisely crafted arrow is a key to success in the field. At LCA, we strive to engineer and produce high-quality tools, and our arrow building product line exemplifies this dedication.
Archery Innovation
Innovation isn't just part of what we do — it defines it. We're setting a new standard for precision in modern archery with tools like the Revolution Arrow Saw. It truly is a revolution.
American Made
The Revolution Arrow Saw is proudly made in our facility located in Georgia, USA.
Trusted by Professional
Professional hunters and tournament archers worldwide trust the Revolution Arrow Saw to help create their most accurate arrow setups.
Workshop-Tested Durability
The Revolution Arrow Saw has been rigorously tested to withstand the demanding conditions of the workshop environment.
What’s in the Box
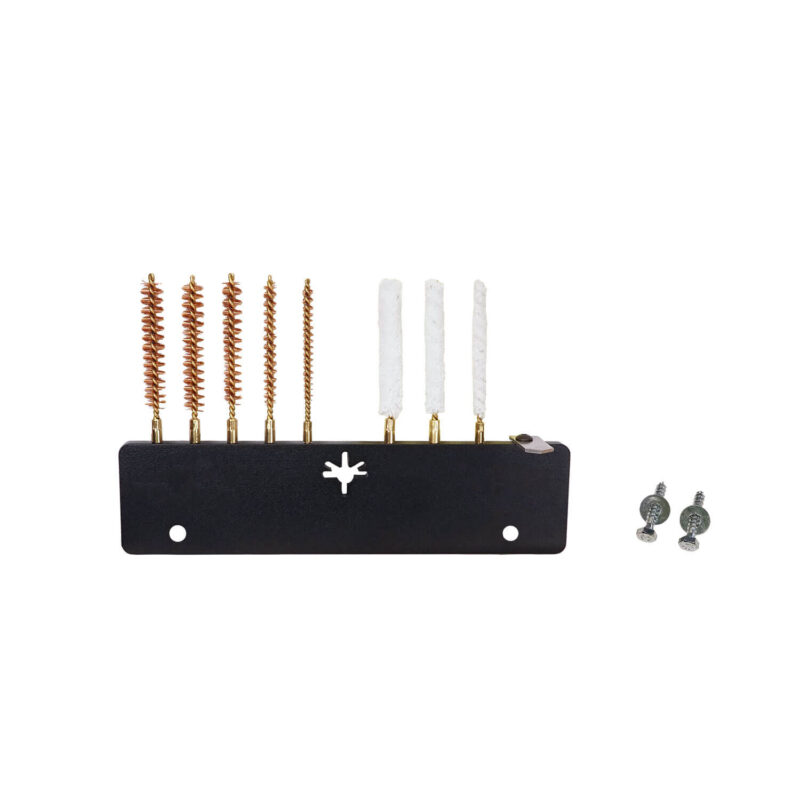
When unboxing, you will find:
-
Pre-assembled Revolution Arrow Saw (main unit)
-
Water container with water dripper
-
5 brushes
-
3 swabs
-
Deburring tool with mounting screw
-
Replacement screw & accessories
Setup & Assembly
1. Install the Water System
-
Attach the water container (with Velcro) to the top of the saw.
-
Ensure the rubber tube is fully inserted into the valve to prevent leaks.
-
Insert the dripper into the single hole on the front of the blade cover.
2. Install Brushes & Swabs
-
Screw brushes and swabs into place (largest to smallest).
-
Tighten securely so shafts don’t loosen them during use.
3. Install the Deburring Tool
-
Position tool on the right side of the unit.
-
Insert screw using a 3/32″ Allen wrench.
-
Tighten until secure, facing the user.
4. Connect a Vacuum
-
Attach a shop vacuum (1.25″ hose recommended).
-
The vacuum removes water and carbon dust during cutting.
5. Add Water
-
Fill container and confirm dripper flows smoothly.
Key Features
-
High-quality blade (replacement available)
-
Precision track system with tight tolerances
-
Spinning disc straightness checker
-
Integrated sanding disc for squaring shaft ends
-
Brushes, swabs, deburring tool for cleaning & finishing
-
Broadhead tightening tool built into the frame
-
1-inch measuring tape for quick length setup
-
Water dripper system to reduce carbon dust
-
Solid rubber feet or optional bolt-down mounting
Safety Precautions
-
Always wear safety glasses.
-
Run vacuum first, then blade, then water.
-
Shut down in reverse order: water → blade → vacuum.
-
Clean vacuum monthly to prevent odor and dust buildup.
-
Operate in a safe location with no foot traffic around the saw.
Operating Instructions
1. Preparing to Cut
-
Align stop and shelf using tick marks so both ends match.
-
Attach shaft to spinners and ensure support near the motor.
-
Square a “sacrificial” shaft first to smooth the sanding disc edges.
2. Cutting an Arrow Shaft
-
Measure arrow using built-in tape.
-
Adjust stop to desired length.
-
Sequence: Vacuum ON → Blade ON → Water ON.
-
Place shaft against stop, rotate to cut.
-
Turn off in sequence: Water OFF → Blade OFF → Vacuum OFF.
3. Squaring & Finishing
-
Place cut shaft on spinners.
-
Lightly touch against squaring disc.
-
Use brushes, swabs, and deburring tool for clean finish.
-
Check straightness with spinners.
✅ Your shaft is now precision cut, squared, and ready for use.
Cutting Pre-Fletched Arrows
-
Remove nock for accuracy.
-
If vanes interfere with the stop:
-
Loosen set screw with 1/8″ Allen wrench.
-
Slide holder back against stop.
-
Retighten screw.
-
-
Insert shaft and cut as normal.
Replacing the Blade & Sanding Disc
1. Remove Housing
-
Detach vacuum hose, water dripper, and container.
-
Loosen and remove shelf screws (5/32″ wrench).
-
Loosen 2 housing screws (3/32″ wrench).
-
Remove housing.
2. Replace Blade
-
Insert Allen wrenches into front and back chucks.
-
Loosen, remove old blade, install new blade.
-
Tighten securely.
3. Replace Sanding Disc
-
Clean chuck surface with solvent/cleaner.
-
Peel adhesive backing, apply sanding disc flush.
-
Press firmly to secure.
4. Reassemble
-
Reinstall housing, align cutouts properly.
-
Reinstall shelf and accessories.
-
Reattach vacuum and water system.
Videos

Revolution Arrow Saw + Instructional
Join LCA’s Jonathan Clark as he demonstrates how to set up and use the Revolution Arrow Saw.
BUY NOW: https://lastchancearchery.com/shop-1?category=Arrow+Building
Additional information
| Weight | 15 lbs |
|---|---|
| Dimensions | 42 × 5 × 11.5 in |
| Product Lead Time (Wks) | 3 |
Additional information
| Weight | 15 lbs |
|---|---|
| Dimensions | 42 × 5 × 11.5 in |
| Product Lead Time (Wks) | 3 |
- Warranty Period
- 1 Year
- Coverage
- Full Product
Reviews
There are no reviews yet.
Related Products
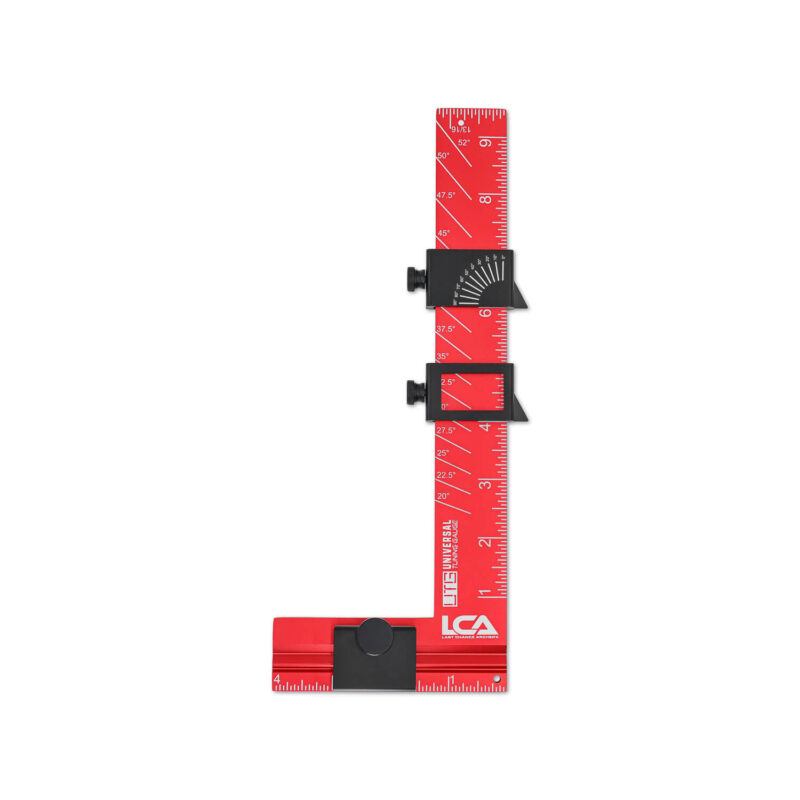
Universal Tuning Gauge
The Universal Tuning Gauge is for serious archers and bow technicians. It’s…
$69.00
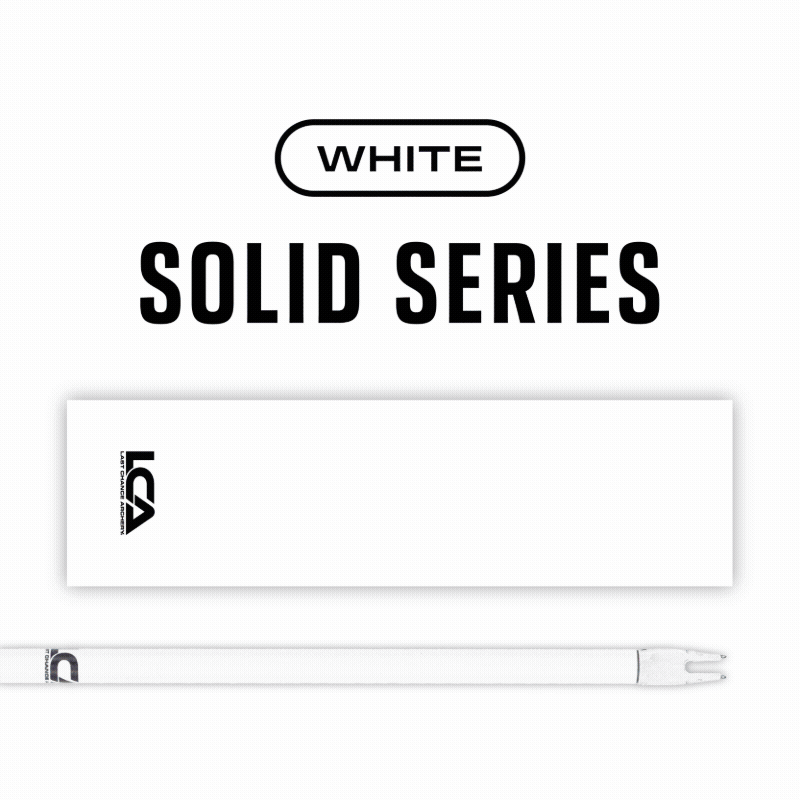
Arrow Wraps - Solid Series
Our solid color arrow wraps deliver a clean, consistent look while maintaining…
$25.50

Arrow Wraps - Topo Series
LCA arrow wraps bring a new level of convenience, value, and precision…
$25.50

Arrow Wraps - Topo Inverse Series
LCA arrow wraps bring a new level of convenience, value, and precision…
$25.50
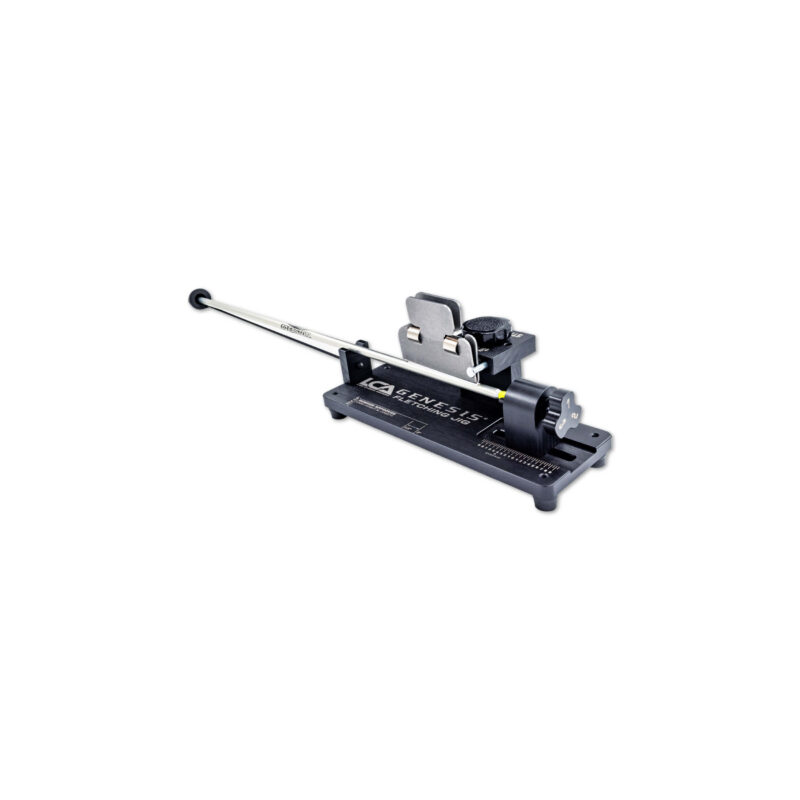
Genesis Fletching Jig
Compatible with any arrow diameter, standard nock styles, and any vane or…
$129.00
RAS - V Notch Assembly
The RAS-V Notch Assembly is a precision accessory explicitly designed for the…
$32.00
Replacement - Arrow Squaring Disc
The Arrow Squaring Disc is incorporated into the Revolution Arrow Saw. This…
$4.00
Replacement - 3" Cut-Off Wheel
The LCA 3" Cut-Off Wheel is a replacement cutting blade for the…
$4.00
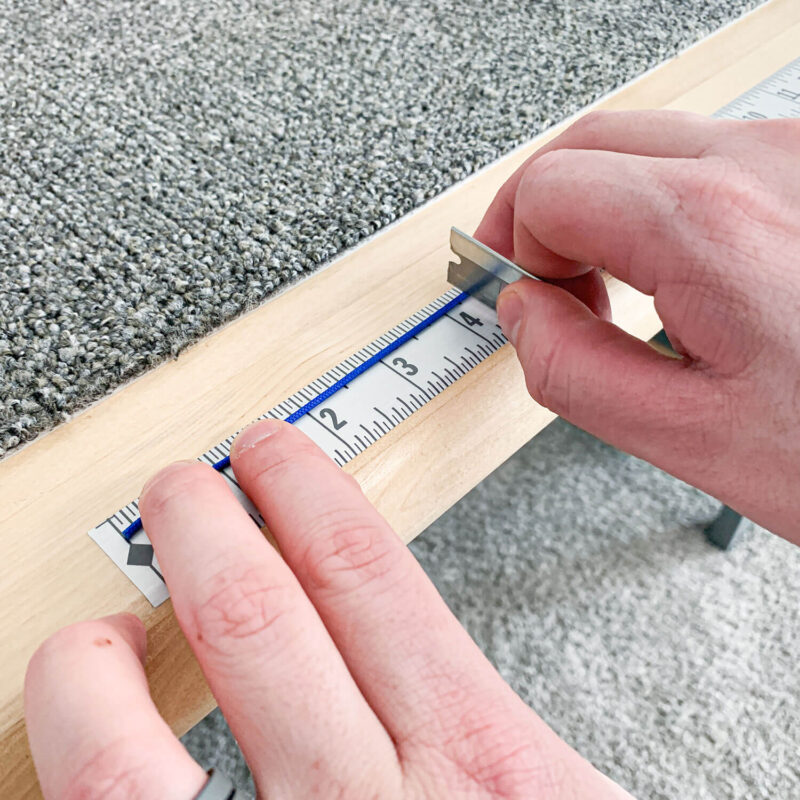
Peel n Stick Measuring Tape
This peel-and-stick measuring tape is a practical addition to any workstation or…
$25.00

Precision Arrow Prep Kit - Handheld
The Precision Arrow Prep Kit is ideal for archers who build arrows…
$32.00
Precision Arrow Prep Kit - Bench Mount
The Precision Arrow Prep Kit is ideal for archers who build arrows…
$52.00

Reviews
There are no reviews yet.