
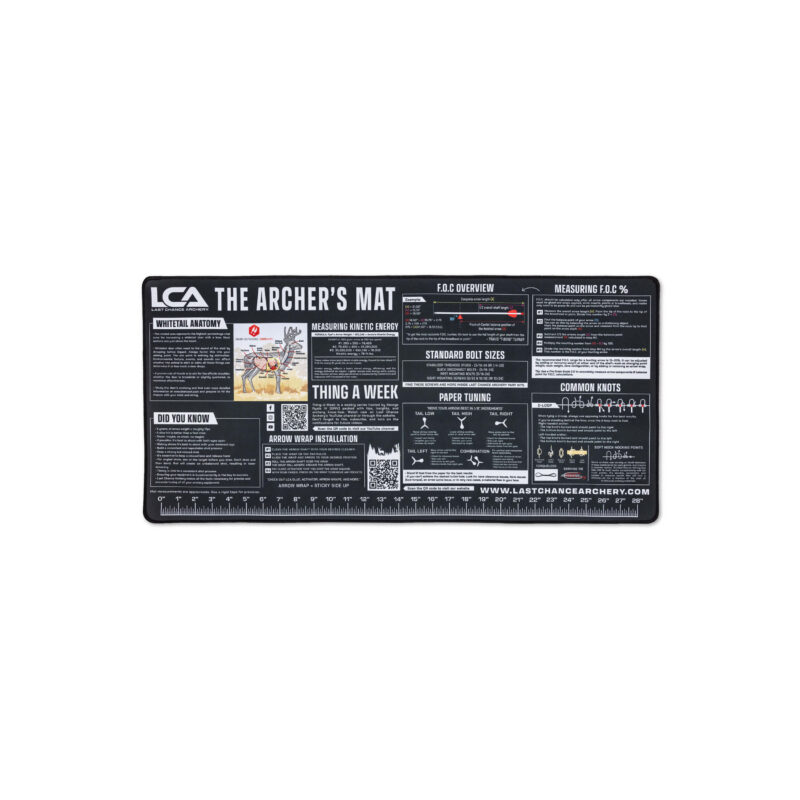
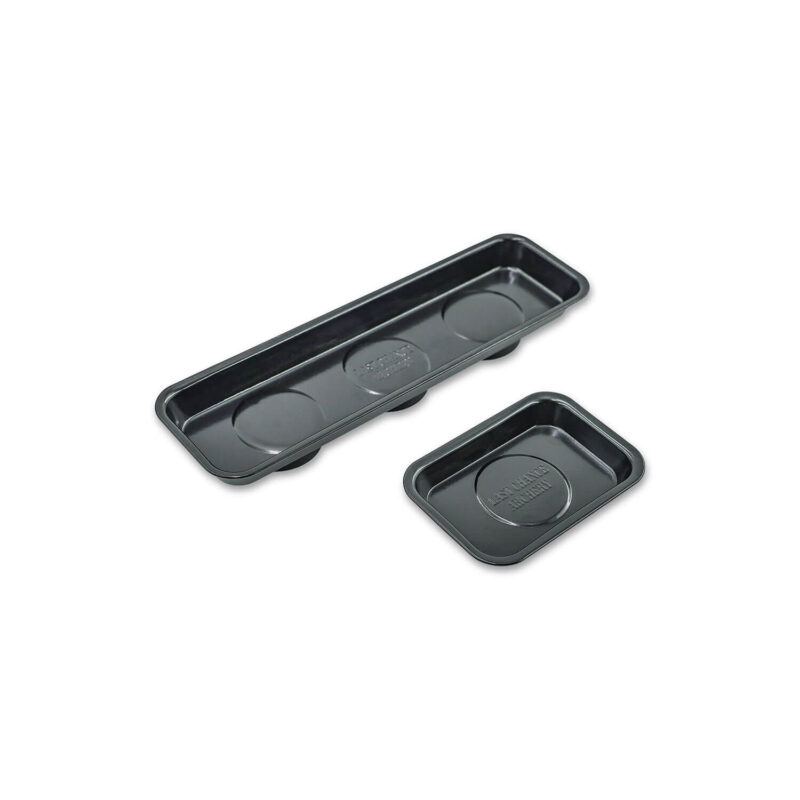
WrapWorks Mat
$20.00 $15.00
The WrapWorks Mat is a specially designed work surface for arrow customization, primarily used with WrapWorks arrow wraps. Featuring a non-slip backing, a durable top surface, and a printed alignment grid, it provides a stable, accurate workspace for installing wraps. Compact but sturdy, the WrapWorks Mat helps keep your workspace organized and makes arrow building easier, faster, and cleaner.
Lead Time: 1 week(s)
- Durable and soft top surface for easy wrap installation.
- Non-slip backing keeps the mat in place during wrap installs.
- Printed alignment grid ensures consistent arrow wrap placement.
- Sized to fit comfortably on a bench, desk, or worktable.
- Protects your workspace while enhancing accuracy and efficiency.
- Pairs seamlessly with LCA Wrapworks arrow wraps for a clean, professional setup.
- 1 qty. WrapWorks Mat
The WrapWorks Mat is designed for use with all LCA WrapWorks arrow wraps, but it is also compatible with any arrow wrap material, vinyl, or custom design. It functions as a versatile workstation mat, providing a stable and protective surface for tasks like fletching, arrow assembly, or tuning.
The WrapWorks Mat transforms any tabletop into a professional-grade arrow workstation. Featuring a stable, non-slip base, a durable surface, and a printed alignment grid, it makes installing wraps easier, quicker, and more consistent—helping archers maintain a clean, organized, and precise setup.
Designed with End-Use in Mind
Built around the archer’s need for fast, accurate arrow wrap installation
Archery Innovation
Innovation isn’t just part of what we do—it defines it. With the WrapWorks Mat, we’re raising the standard for arrow wrap installation.
Built with Purpose
The WrapWorks Mat is designed with a specific goal: to make things easier for the archer. It works in unison with LCA arrow wraps to deliver quick and accurate installation on the included alignment grid, ensuring every wrap fits with precision.
Industry-Leading Accuracy
Every LCA tool is made to push accuracy further. The WrapWorks Mat ensures precisely installed arrow wraps, providing archers with consistency that leads to industry-leading results downrange.
Using the WrapWorks Mat for Arrow Wrap Installation
Step 1: Prepare Arrows
Clean arrow shafts thoroughly with LCA Activator, Acetone, or Isopropyl Alcohol to remove oils or residue.
Allow shafts to air dry completely before applying wraps.
Step 2: Align the Wrap
Place your LCA WrapWorks Arrow Wrap adhesive-side up on the printed grid.
Use the horizontal and vertical lines on the mat to ensure the wrap is square and straight.
Step 3: Position the Arrow
Align the arrow shaft parallel to the printed guidelines.
Place the bottom edge of the shaft at the start line of the wrap graphic.
Step 4: Roll and Apply
While maintaining light downward pressure on the shaft, roll the arrow smoothly forward over the wrap.
The grid helps you stay square to the surface for perfect, bubble-free installation.
Press lightly along the seam to ensure full adhesion.
Step 5: Inspect & Repeat
Check alignment and edge adhesion.
Repeat the process using the printed grid to maintain consistency across all arrows.
💡 Pro Tip: Use a Precision Flex Cutter to pre-trim wrap widths before placement.
Videos

Arrow Wraps for Hunting & Target Archery | The WrapWorks System
Looking for the best arrow wraps for hunting and target archery? WrapWorks Arrow Wraps provide more wraps per box, UV-cured colors, and Precision Flex options to help archers customize their arrows and easily identify them in the field and on the range.
Shop WrapWorks Arrow Wraps: https://www.lastchancearchery.com/archery-arrow-wraps
WrapWorks Arrow Wraps from Last Chance Archery are available in a wide variety of colors and patterns for bowhunters, target archers, and recreational archers.
Whether you’re building hunting arrows, target arrows, or recreational setups, WrapWorks Arrow Wraps offer a durable, easy way to customize your arrows.
Features:
• More wraps per box
• UV-cured colors
• Precision Fixed options
• Precision Flex options
• Easy application
• Durable outdoor performance
Learn More: https://lastchancearchery.com/product-category/arrow-building/arrow-wraps/
WrapWorks Series: Reinventing Arrow Wraps — A Custom Arrow Builder’s Dream
Looking for arrow wraps for building custom arrows? The WrapWorks Series from Last Chance Archery is reinventing arrow wraps for modern arrow builders—delivering more wraps per box at a lower cost than traditional arrow wraps, without sacrificing quality. Available in Standard sizes or versatile Flex options with precision cut lines, allowing one box of wraps to fit multiple shaft diameters.
New wrap designs and colors are released monthly!
More wraps per box for greater value
UV-cured print for sharper detail, vibrant color, and durability
Fade-resistant and weather-resistant for long-lasting performance.
Thin, lightweight material with strong shaft adhesion
Easy-dispense box with front slit for clean, organized access
Heat-release removal—swap wraps quickly with little to no residue.
Available in Precision Fixed or versatile Precision Flex models
Precision Flex wraps with precision cut marks for multiple arrow diameters.
Precision Flex Cutter available separately
Additional information
| Weight | 0.01 lbs |
|---|---|
| Dimensions | 5.7 × 1.75 × 1.75 in |
| Product Lead Time (Wks) | 1 |
Precision Starts at Your Bench.
Built for Clean, Consistent Wraps.
Printed Grid for True Alignment.
The Foundation for Arrow Perfection.
Made for WrapWorks Arrow Wraps.
Align. Wrap. Repeat.
Non-Slip Grip. Pro-Level Control.
Keep Your Workspace Clean and Precise.
Stable. Durable. Built for Builders.
Compact Design. Professional Results.
- Material: Durable synthetic surface with non-slip backing
- Design: Printed alignment grid for easy wrap installation
- Use: Arrow Wrap installation and alignment
- Length: 10.5”
- Width: 5.5”
- Thickness: 3/16”
Additional information
| Weight | 0.01 lbs |
|---|---|
| Dimensions | 5.7 × 1.75 × 1.75 in |
| Product Lead Time (Wks) | 1 |
- Warranty Period
- 30 Days
- Coverage
- Manufacturing Defects Only
Reviews
There are no reviews yet.
You may also like…
Related Products
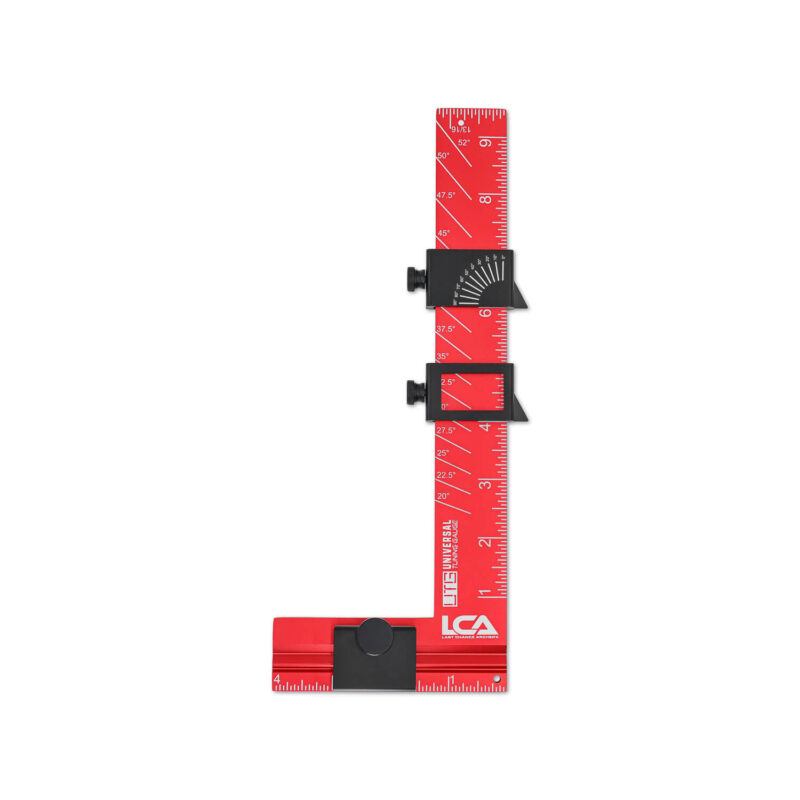
Universal Tuning Gauge
The Universal Tuning Gauge is for serious archers and bow technicians. It’s…
$69.00
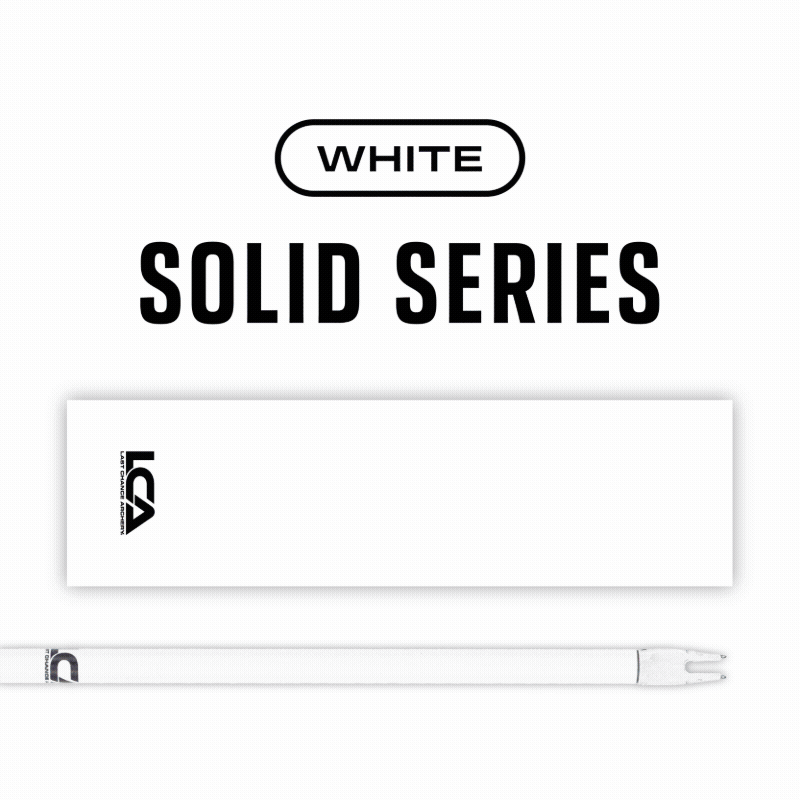
Arrow Wraps - Solid Series
Our solid color arrow wraps deliver a clean, consistent look while maintaining…
$25.50
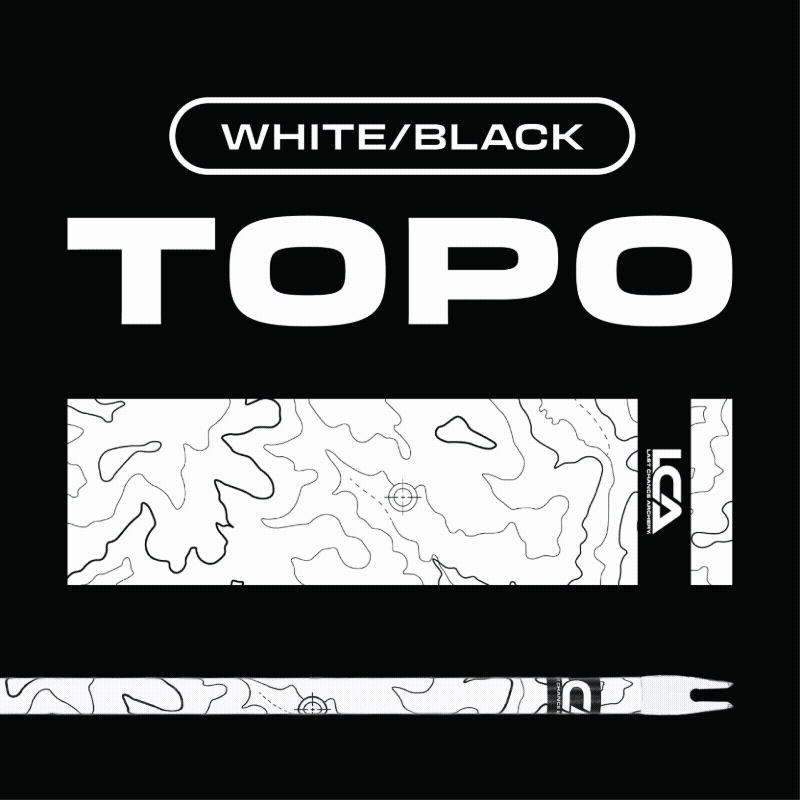
Arrow Wraps - Topo Series
LCA arrow wraps bring a new level of convenience, value, and precision…
$25.50
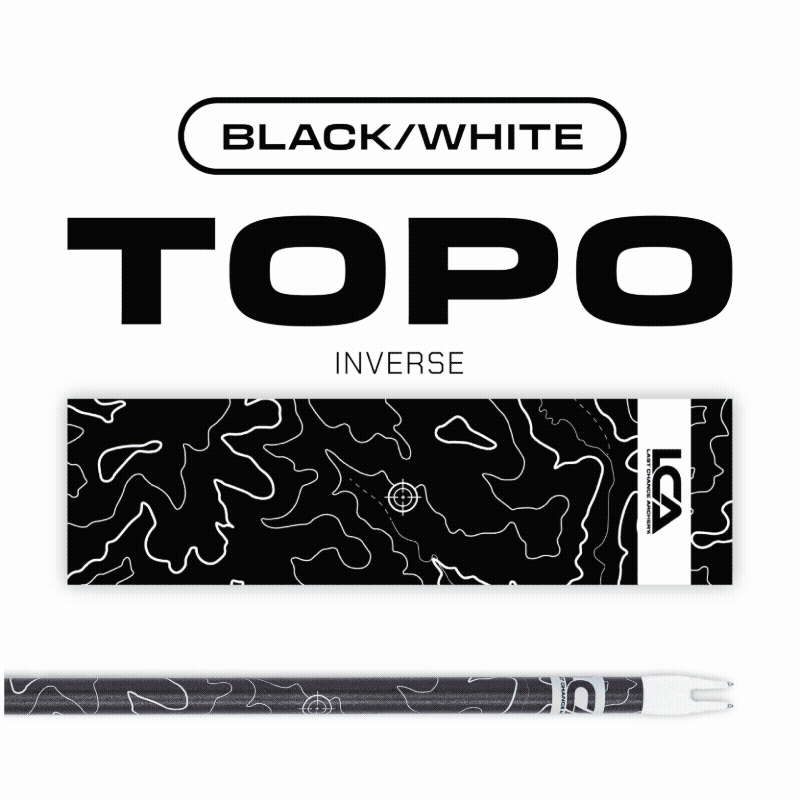
Arrow Wraps - Topo Inverse Series
LCA arrow wraps bring a new level of convenience, value, and precision…
$25.50
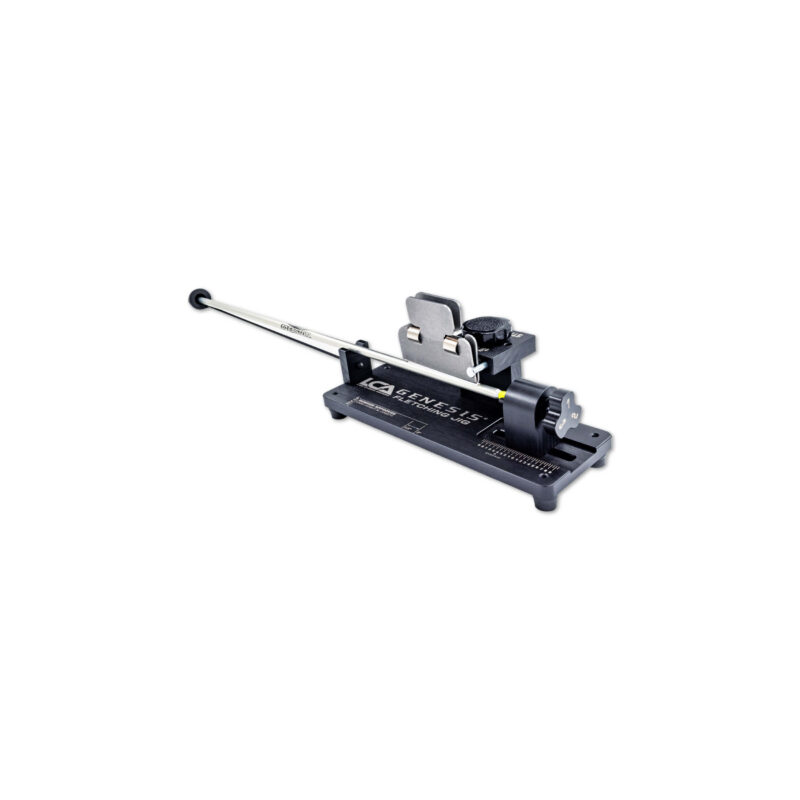
Genesis Fletching Jig
Compatible with any arrow diameter, standard nock styles, and any vane or…
$129.00
Precision Flex Cutter
The Precision Flex Cutter is a universal wrap-cutting tool designed to deliver…
$18.00 $13.50
Arrow Wraps - Daybreak Skull
LCA arrow wraps bring a new level of convenience, value, and precision…
$25.50
Arrow Wraps - Color Burst
LCA arrow wraps bring a new level of convenience, value, and precision…
$25.50
Arrow Wraps - Archery Made Easy
LCA arrow wraps bring a new level of convenience, value, and precision…
$25.50
Arrow Wraps - GPS Coordinates
LCA arrow wraps bring a new level of convenience, value, and precision…
$25.50
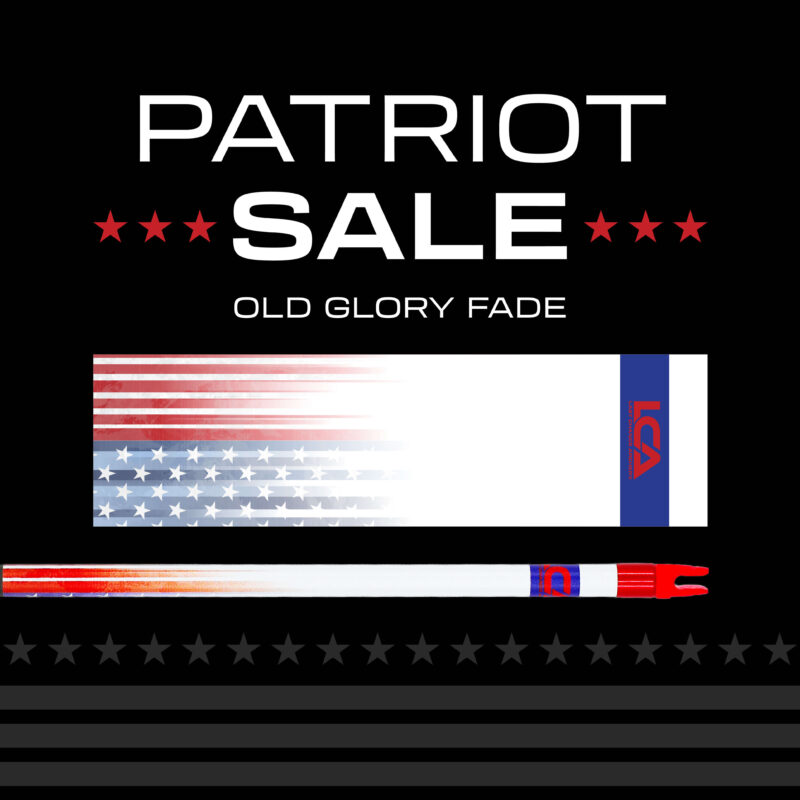
Arrow Wraps - Old Glory Fade
LCA arrow wraps bring a new level of convenience, value, and precision…
$17.00
Arrow Wraps - Rack & Stack
LCA arrow wraps bring a new level of convenience, value, and precision…
$25.50
Arrow Wraps - Tuner's Grid
LCA arrow wraps bring a new level of convenience, value, and precision…
$25.50
Arrow Wraps - Diamonds Drift
LCA arrow wraps bring a new level of convenience, value, and precision…
$25.50
Arrow Wraps - Vegas Indoor
LCA arrow wraps bring a new level of convenience, value, and precision…
$25.50
Arrow Wraps - Velocity Chevron
LCA arrow wraps bring a new level of convenience, value, and precision…
$25.50
Arrow Wraps - Water Wave
LCA arrow wraps bring a new level of convenience, value, and precision…
$25.50
FlightCheck
Paper tuning shouldn’t be a chore—it should be simple, accurate, and efficient.…
From: $289.00

FlightCheck - Floor Stand
The FlightCheck - Floor Stand offers a stable, free-standing base for the…
$154.00
FlightCheck - Vise Mount
The FlightCheck - Vise Mount transforms your FlightCheck into a compact, highly…
$49.00

FlightPaper
FlightPaper rolls are designed for precise paper tuning—producing clean, visible tears that…
$34.00
LCA Arrow & Vane Fletching Glue Activator
LCA Activator is a versatile product designed to enhance the fletching process…
$16.00
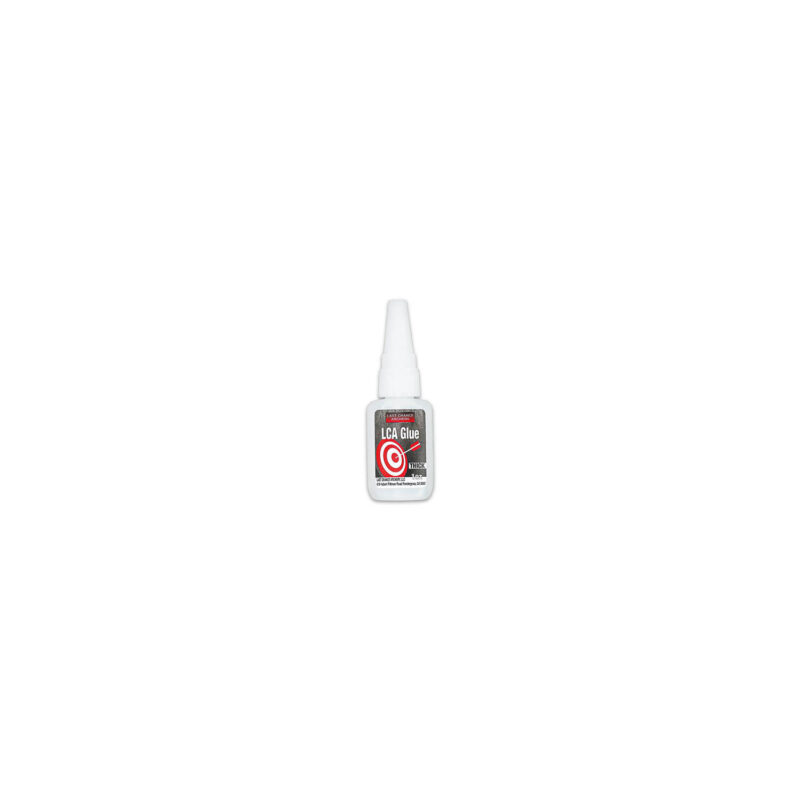
LCA Arrow & Vane Fletching Glue
LCA Glue is a high-performance adhesive specially formulated for archery and various…
$14.00
Replacement - Precision Flex Cutter Blade
Keep your Precision Flex Cutter running smoothly with authentic replacement blades. Made…
$7.00 $5.25
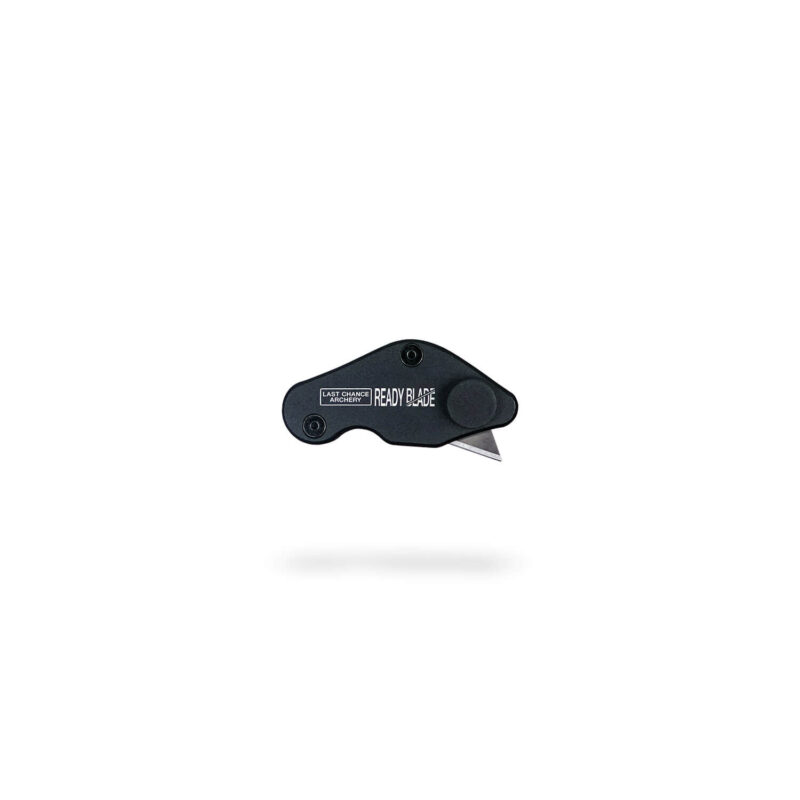
Ready Blade
The Ready Blade is a precision knife purpose-built for archers—perfect for cutting…
$24.00
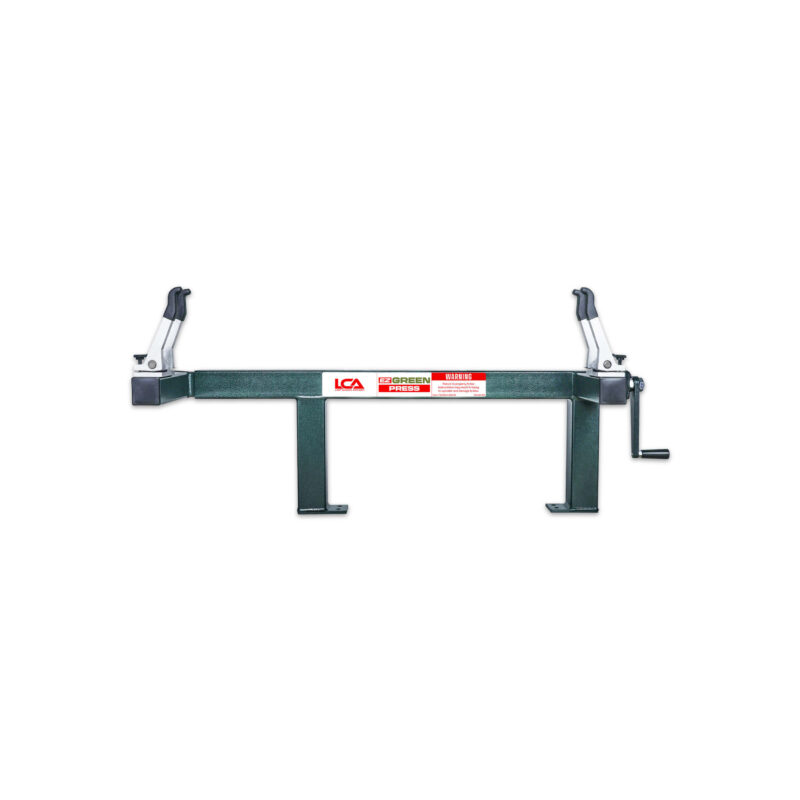
EZ Green Press
The EZ Green Press is designed for individual consumers, making it ideal…
From: $479.00
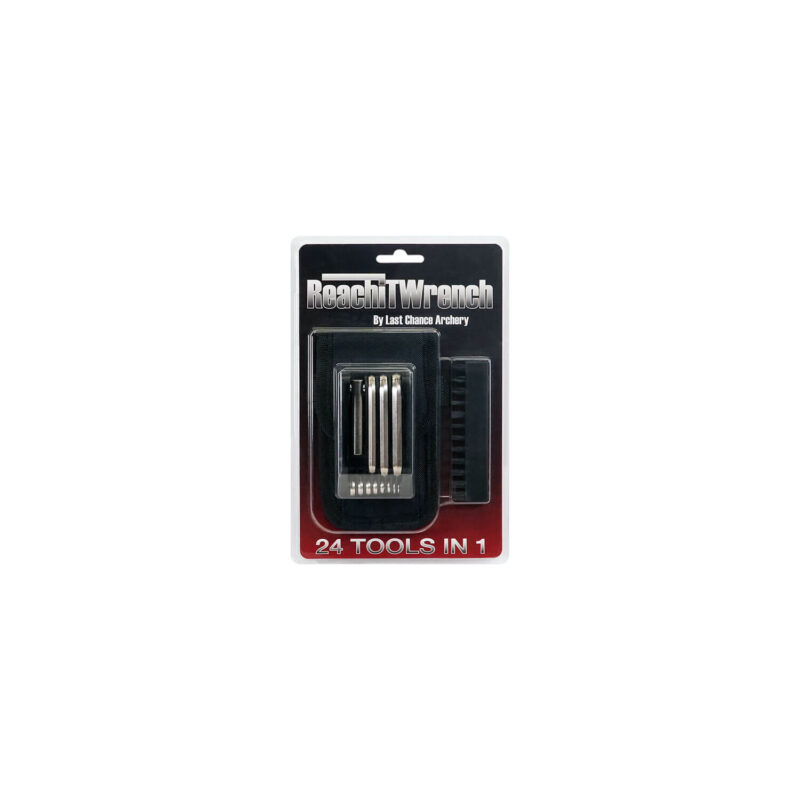
ReachIt Wrench
The ReachIt Wrench from Last Chance Archery is a compact, all-in-one solution…
$39.00

Precision Arrow Prep Kit - Handheld
The Precision Arrow Prep Kit is ideal for archers who build arrows…
$32.00
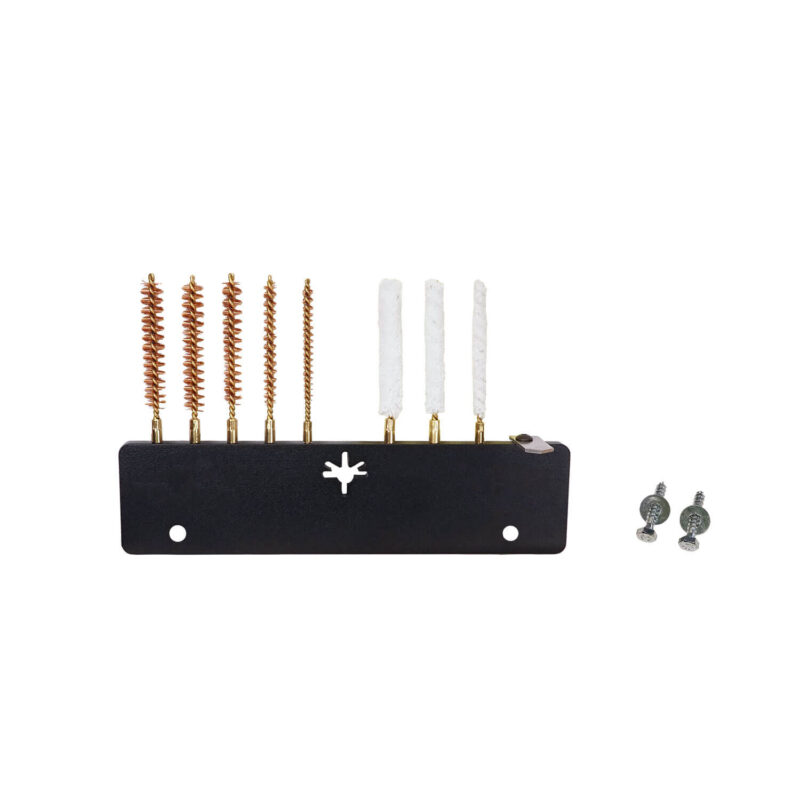
Precision Arrow Prep Kit - Bench Mount
The Precision Arrow Prep Kit is ideal for archers who build arrows…
$52.00
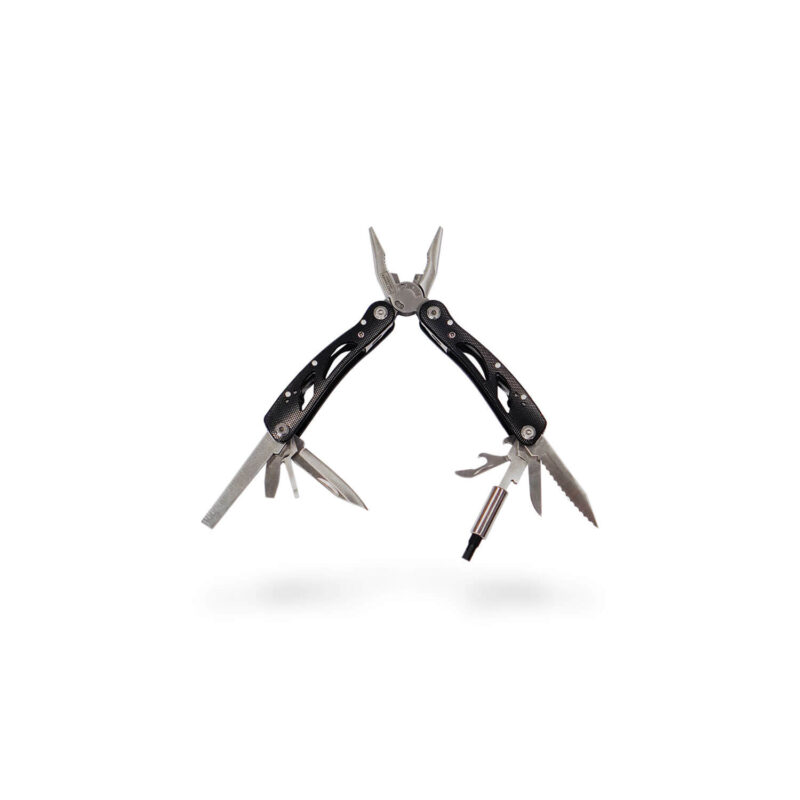
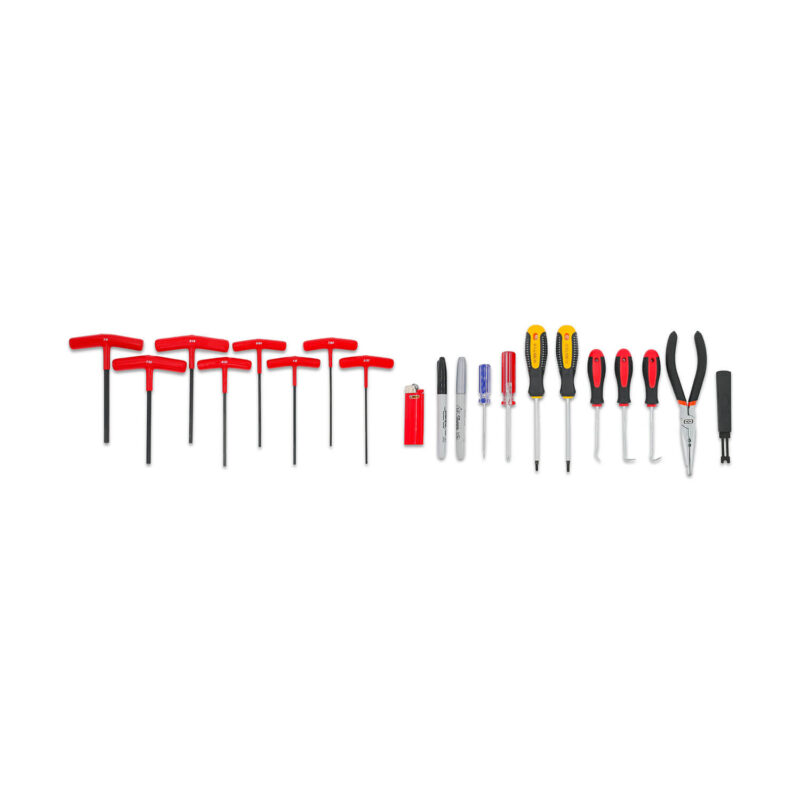
Pocket Shop
The Pocket Shop is a compact 20-in-1 multi-tool, specifically engineered for outdoor…
$29.00

Reviews
There are no reviews yet.