
How to Build the Perfect Bow Tune Using the Universal Tuning Gauge
The Universal Tuning Gauge is the newest “modern bow square.” Though you can use it to set your nocking points and measure brace heights as you would with the old bow squares of yesteryear, the UTG will do all that and much more. In this article, I’ll go through how to use the multitude of functions on the UTG and why you want to. The first big change in bow squares in probably 50 years. The Universal Tuning Gauge is packed with features to help you get the most out of your initial tune and log accurate measurements so you can set up multiple bows or make a field repair and have a solid chance that all your marks are still good.
The Universal Tuning Gauge uses the string and the arrow for various measurements and setup procedures. It’s the new bow square, the all-in-one tool to get you closer to the perfect tune with minimal trial and error.
Setting The Nock Point and D-loop
Using the UTG, it’s easy to square up the tool with your bowstring, then put the arrow in line with your Berger hole. Allowing you to move the tool and arrow up/down the string until your chosen nock point position is found. Once found, it’s easy to mark. Knowing that everything is perfectly square to start.
One significant difference in how the nock point is set is the tool’s focus or clamping point. The original bow square clips onto the string and rests on the shelf or arrow rest to find the nocking point you like. The UTG clips on the arrow or the string. Using the arrow on modern compound bows makes it much easier to visualize the proper nock setting for your specific arrow than using the string alone. Centering the arrow with the nock you plan to use and marking the string is very accurate and easy. Often, shooters will center the arrow in the bow, set the nocking point, and then place the rest on the bow. I personally install the rest and set it where I want it, then set the arrow position around the rest location. Either works, but I’m old school like that.
You can also clip the UTG to the string at a 90 Degree angle to set nocking points and D-loops, if you prefer. Attaching the UTG to the string or the arrow will give you the same result. However, I find using the arrow to set nocks and loops more efficient, accurate, and much easier to position.
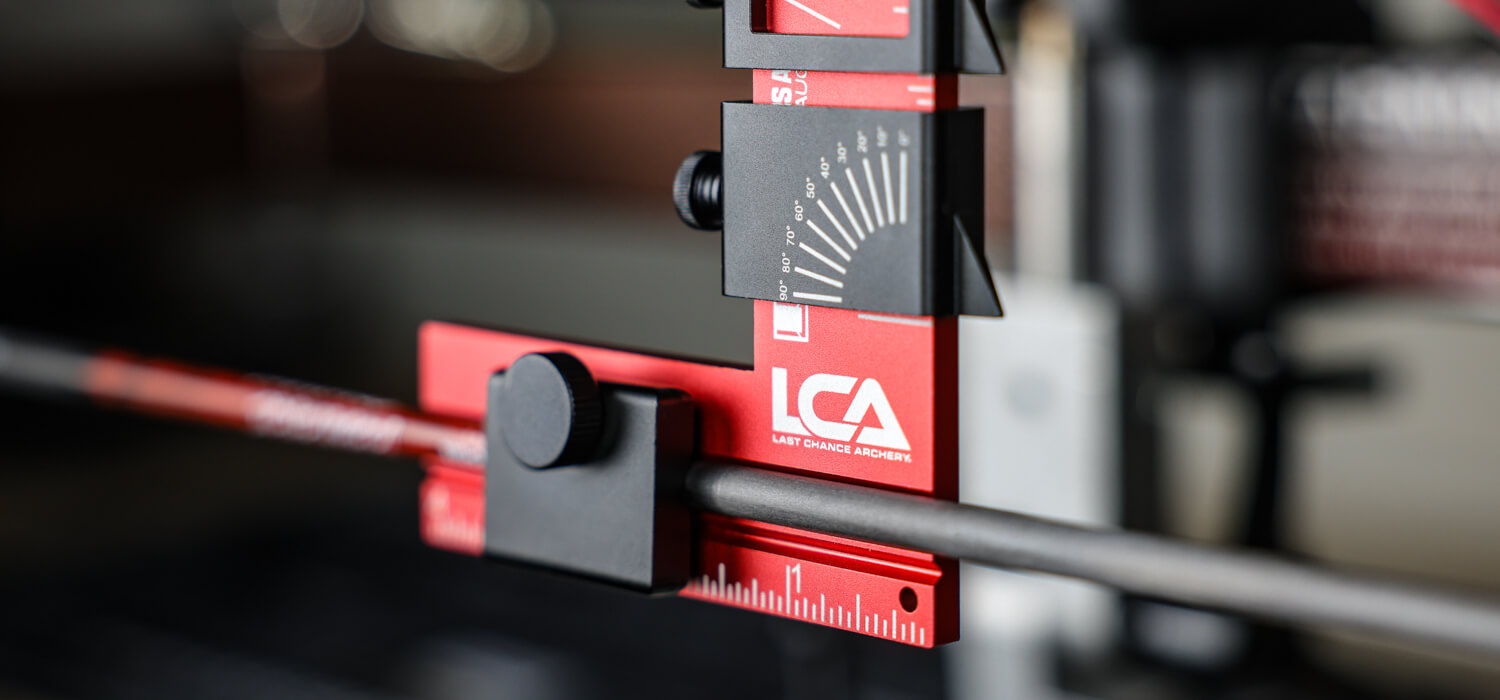
Setting the Centershot and Blade Angle
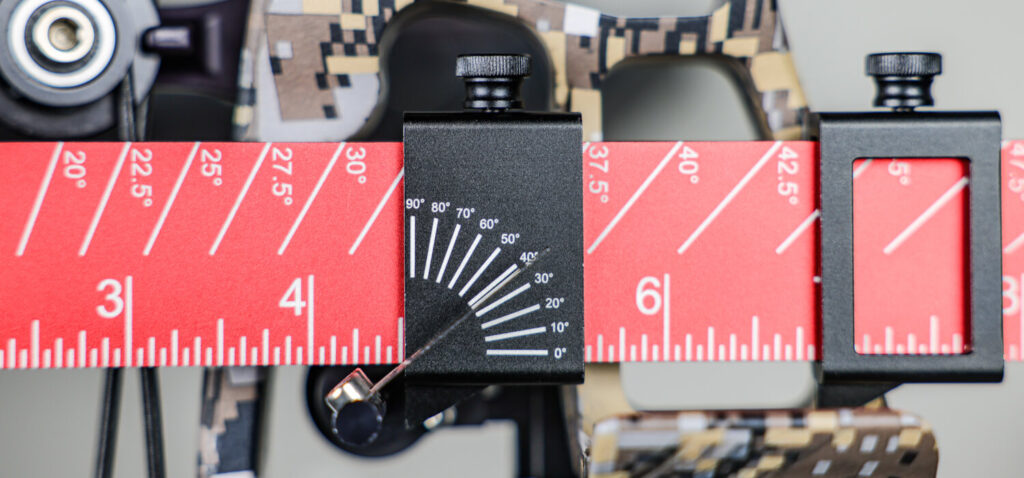
When setting the center shot on the rest, the UTG has the standard 13/16” position marked with a dot at the end of the tool. It’s printed on both sides of the UTG, so it works easily with right or left hand. You can also use one of the sliders on the long axis of the tool to set the arrow rest angle. Recording and keeping the rest angle in your log will make it easy to set up backup bows identically and make field repairs more efficient and accurate.
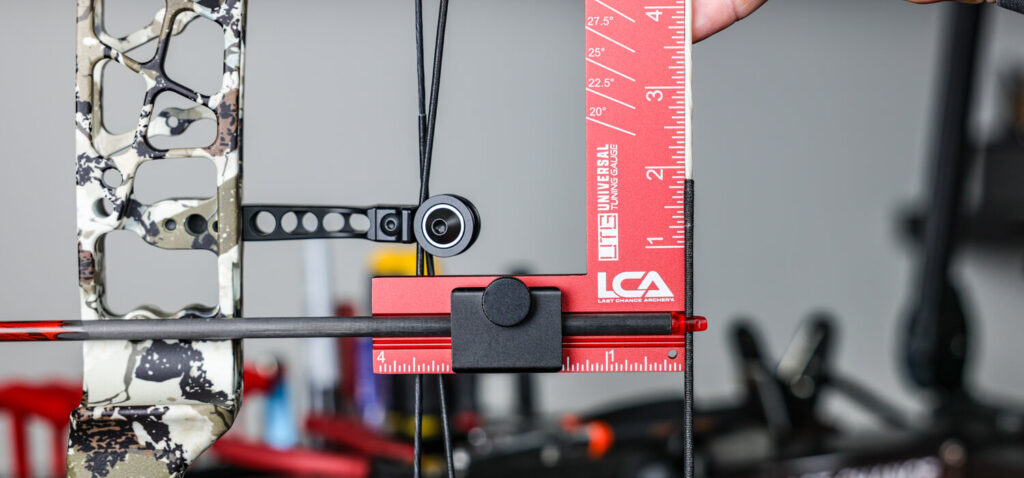
Peep Height and Sight Mark Apps
The UTG’s dual pointers are my favorite feature. When setting the peep height, the vertical measurement is extremely important when getting sight marks using apps like Archer’s Mark. The measurement must be taken at full draw. Typically, it’s taken from the center of the arrow to the center of the peep. Up until now, the peep measurement was a real pain to take accurately. Using the UTG makes it a breeze. Attach the UTG to the arrow, draw the bow in a draw board, and move the slider so it’s in line with the center of the peep. Having that measurement will allow you to maintain the perfect peep height even if you switch bows and the axle-to-axle length changes.
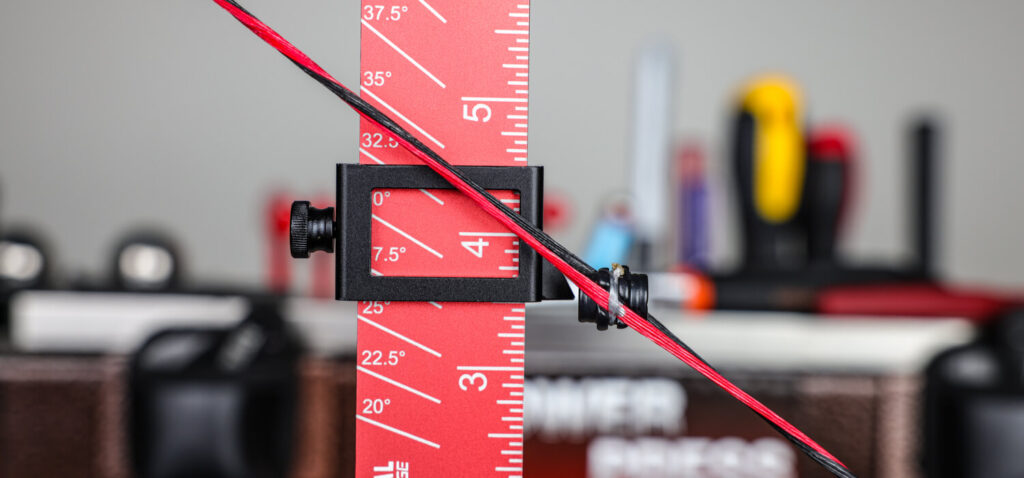

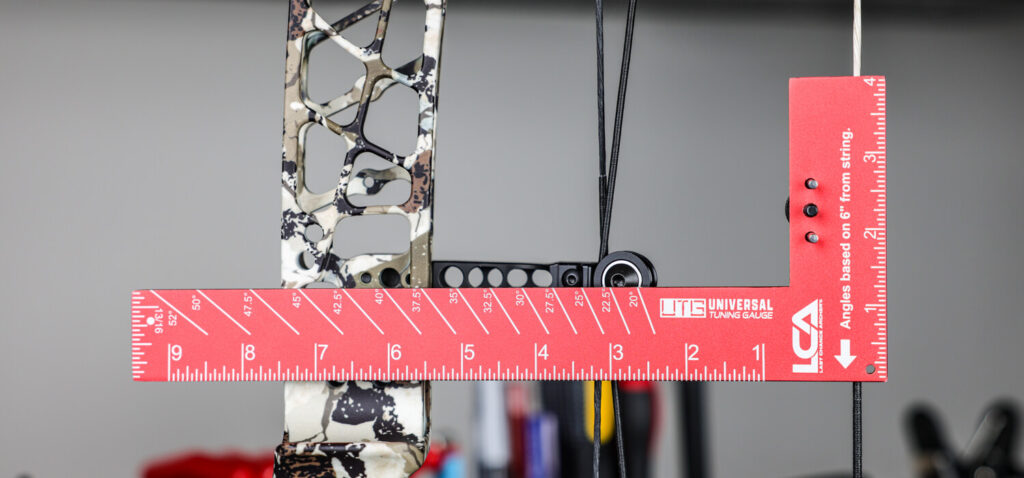
String Angle Measurements
String angle is often overlooked in bow fit. Shooters who want to touch their nose to the string will need a wider angle. Factors that affect bow fit include the bow design, cam size & shape, limb geometry, face shape, and more. In the past, bow fit has only been thought of in the realm of axle-to-axle length. As bow technology has advanced, string angle has changed drastically over the years, even on shorter bows. In addition to bow fit, it’s very important to measure your string angle to ensure correct peep selection as well.
Often, shooters attribute axle-to-axle length and brace height to overall forgiveness. These old rules on bow length and brace height date back to the recurve days and don’t usually translate to compound bows. In the 90’s, it was the common thought that we needed crazy long 48” bows with 10” brace heights and, of course, round wheels for maximum forgiveness. The collective gasp from conventional shooters of the day when a few of us pros showed up with shorter bows and lower brace heights, and actual CAMS was easy to hear.
Over the years, bows have become shorter and shorter as designers have learned what really creates forgiveness. Cams are being redesigned, limb angles are changing, and shapes are being rethought. With many of these changes, a shorter bow can now give a wider string angle for better face fit. As cams rotate open to full draw, the effective length of the bow gets longer. Once you find the right fit, you can use the UTG to measure your exact string angle, making it easier to evaluate other bows and cam styles for fit.
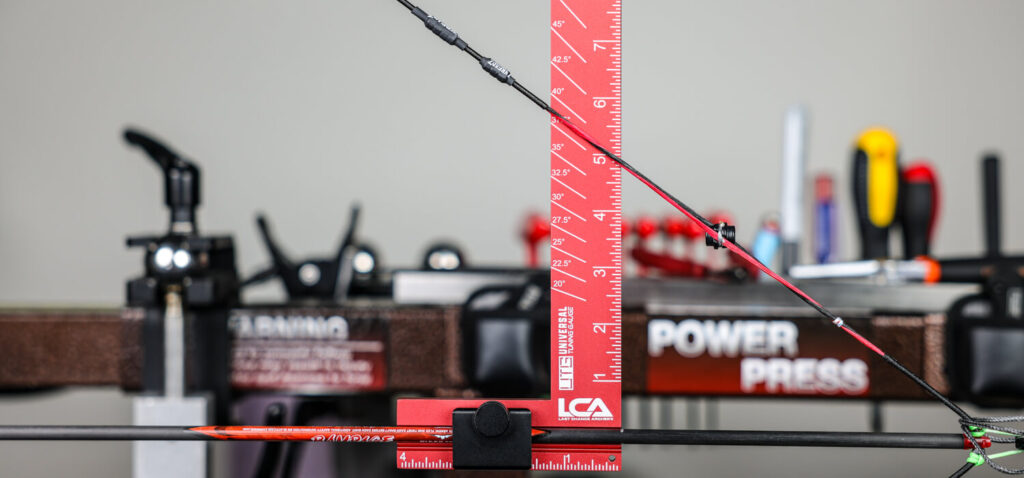
Searching For a New Bow
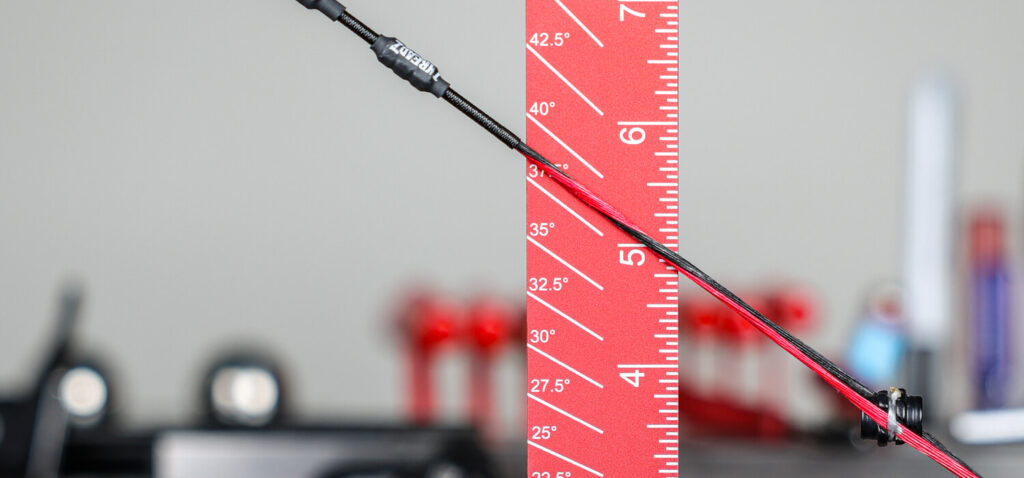
When looking for a new bow, simply looking at axle-to-axle length isn’t enough; you need to actually measure a bow’s string angle to see how that particular bow will fit you compared to your current bow model. Inside the example below, it’s imperative to note that bow geometry has changed so much that a 31” bow can have the same string angle as an older 35” bow. Different designs and brands may not be identical, but the important thing is to realize that simply looking at axle-to-axle measurements is not enough. If in the past you’ve normally preferred a 35” bow, it’s very possible that improvements in bow geometry would now allow you to shoot a shorter bow while maintaining the same feel at full draw.


The Universal Tuning Gauge is a simple but powerful tool in your arsenal. Solid basic setups will bring you closer to a perfect tune through paper from the start, and give you reliable measurements to keep your equipment working perfectly, even if you have to make an emergency repair.
What’s Next: TUNING PRECISION WITH LAST CHANCE ARCHERY – BUILDING ARCHERY CONSISTENCY AND BETTER DRILLS WITH YOUR PAPER TUNER
In the next article (coming soon), we will move on to paper tuning. Including how you can use the LCA FlightCheck archery paper tuner & custom archery paper tuning FlightPaper while training to make your shooting technique more solid and consistent. Thank you for reading.
Want To Train With Me?
You can get personal coaching—either online via Zoom or in person— by visiting ImproveMyArchery.com. I coach compound, Olympic recurve, and barebow for all ages and skill levels.
Archery is my life, and if you’re serious about getting better, I’d love to work with you.


Comments (0)