
Magic Secret For Consistency: The Big4 (Part 2)
Welcome back to the Big Four series. In Part One, we built the foundation with a consistent setup: release hand, bow grip, stance, and breath. Now in Part Two, we’ll focus on drawing the bow—the most challenging step of the four.
Done correctly, Part Two locks in stability and prepares your shot for the perfect anchor and aim.
Why Part Two Is Critical
Your bow is inherently consistent—it will repeat the same motion every time. The inconsistency comes from us.
- If you draw with a shifting shoulder line, your bow won’t level.
- If you lose tension at full draw, stability vanishes.
- If you anchor too early, you lose the feel of bow pressure.
Part Two focuses on eliminating those problems and ensuring your shoulders, pressure, and draw direction are repeatable.
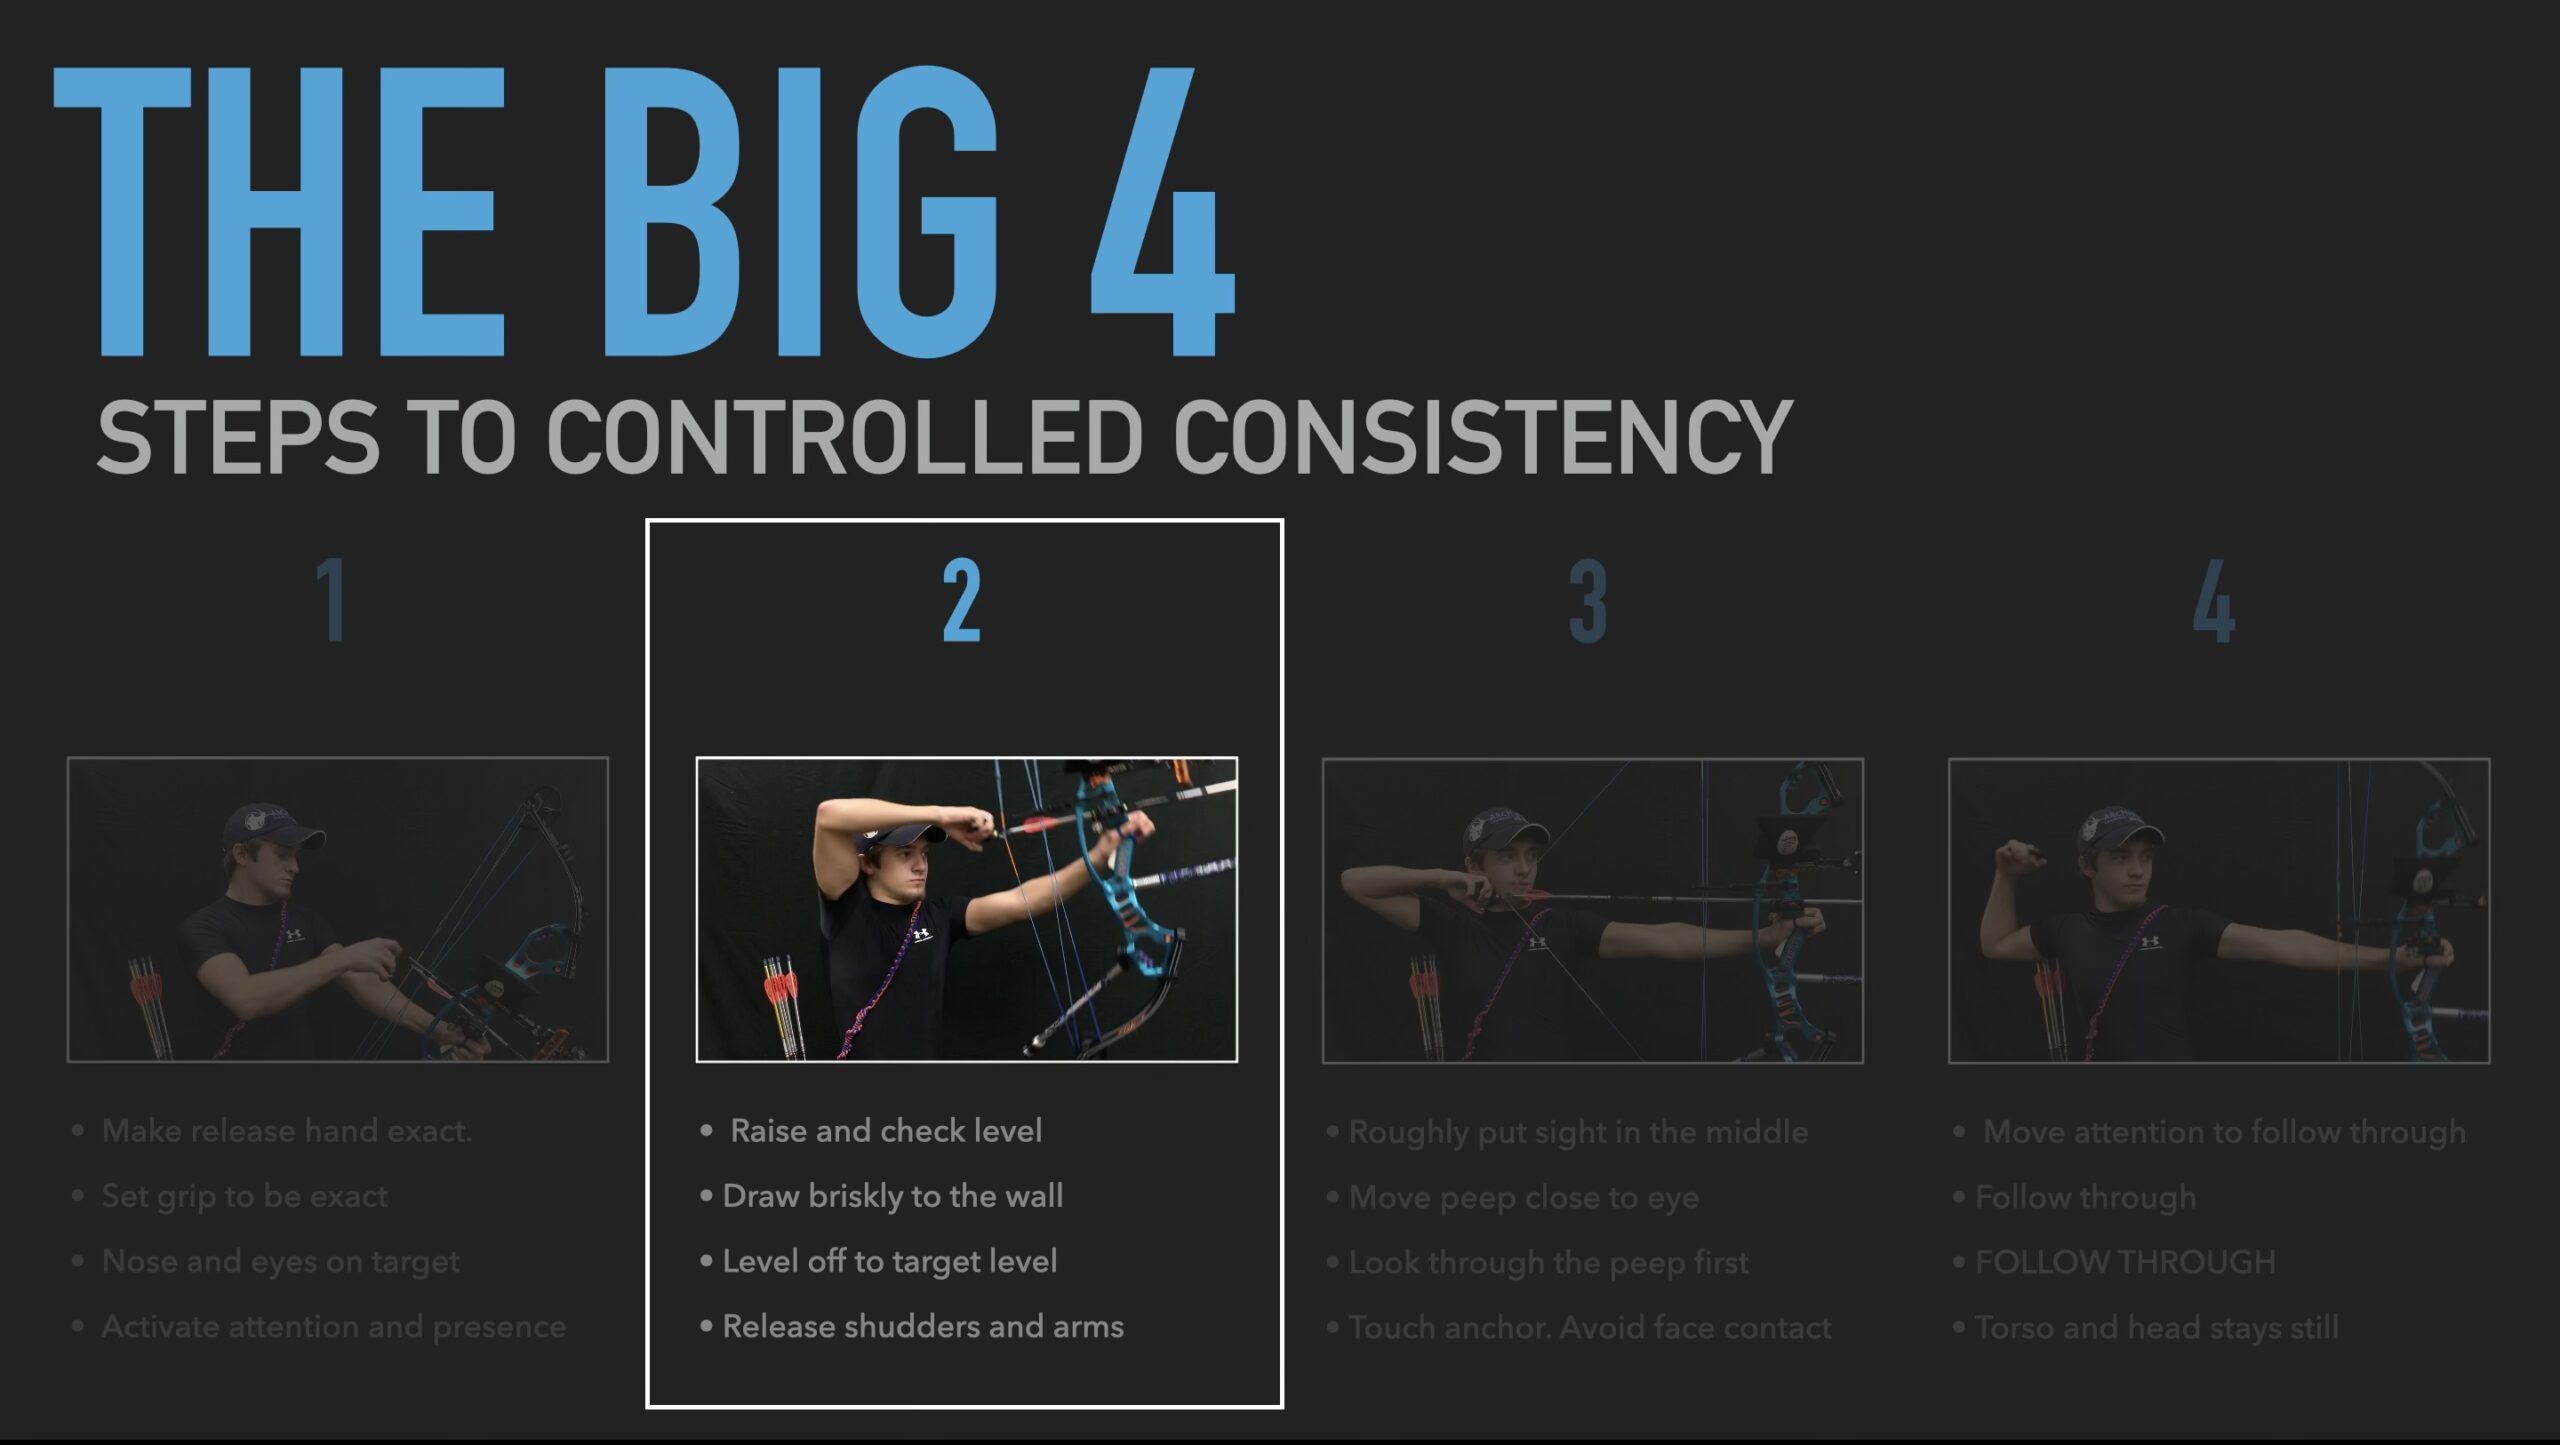
Part Two: Drawing the Bow
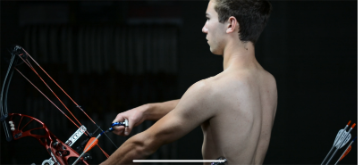
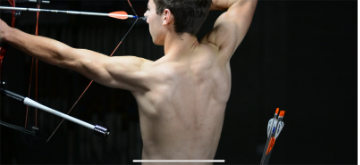
1. Raise and Draw with Neutral Shoulders
- Raise the bow just above the target.
- Glance at your level—if it’s off, it means your front shoulder moved.
- Draw briskly, not too cautiously. A smooth, straight-through draw keeps tension alive between you and the bow.
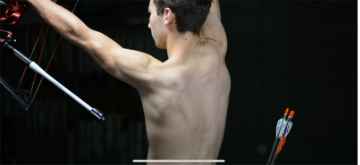
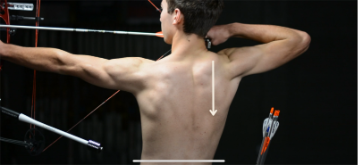

2. Use the Over-the-Top Draw
- Instead of pulling straight back or with the elbow down, draw “over the top.”
- This provides greater leverage and helps your back shoulder settle into its neutral position.
- At full draw, pause against the wall, then release the tension in your shoulder tops.
- Both shoulders should now be neutral, giving you maximum stability.
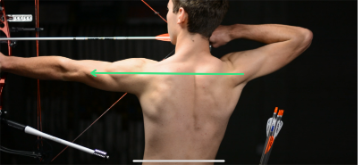
3. Stop Before the Anchor
- Don’t go straight into your anchor.
- Hold your release hand a couple of inches away from your face.
- This is where you can feel the pressure and alignment between you and the bow—something you lose once you’re anchored.
- Once the weight feels balanced and straight, you’re ready for Step Three.
Common Mistakes to Avoid
- Drawing too carefully: Causes tension loss and weak holding.
- Elbow too low: Leads to poor leverage and floating shoulders.
- Anchoring too soon: Removes your ability to sense draw pressure.
Correcting these will dramatically increase your stability and shot repeatability.
Part Two Recap
- Raise the bow above the target and draw with neutral shoulders.
- Use an over-the-top draw for leverage and shoulder alignment.
- Hold the release hand just off the face to feel pressure and alignment.
- Settle shoulders back into neutral for maximum stability.
Part Two: bridge setup and anchor. Get this right, and your aim part three becomes much easier.
What’s Next: Part Three
In part three, we’ll dive into anchoring and aiming—the stage where you connect your draw with your sight picture.
Until then, drill part two until it’s smooth, stable, and repeatable.
Want to Train Part Two With Me?
You can get personal coaching—either online via Zoom or in person— by visiting ImproveMyArchery.com. I coach compound, Olympic recurve, and barebow for all ages and skill levels.
Archery is my life, and if you’re serious about getting better, I’d love to work with you.


Comments (0)