
Magic Secret For Consistency: The Big4 (Part 1)
If you’ve ever wondered why your bow groups well in a shooting machine but not always in your hands, here’s the truth: your bow is already consistent. The inconsistency comes from the “squishy part” between the bow grip and the release—you.
The Big Four is a simple, four-step system designed to help archers eliminate those inconsistencies by building a repeatable process. In this article, we’ll walk through Part One in detail, the foundation for all great shots.
Why Step One Matters
Many archers rush through the early part of their shot routine, eager to draw and fire. But the setup stage is where most inconsistencies are born.
- A slightly different finger depth on your release.
- A small shift in grip placement.
- Forgetting to breathe and reset.
Each of these subtle changes alters your timing and arrow flight. Part One of the Big Four—Setup—ensures you eliminate those variables before you ever draw the bow.
Part One: Setup
Step One has three key parts: fingers, grip, and breath. Here’s how to put them into practice.

1. Load the Bow & Set the Release
- Nock your arrow and attach the release.
- Pause for a moment of focus—use a phrase like “Let’s get this right” or count down “3, 2, 1” to mentally turn on concentration.
- Look at your release hand. Check the depth of your fingers in the release—too shallow makes the release faster, too deep makes it slower.
- If using a thumb button, lightly test thumb placement before drawing. This ensures the trigger is within easy, repeatable reach.
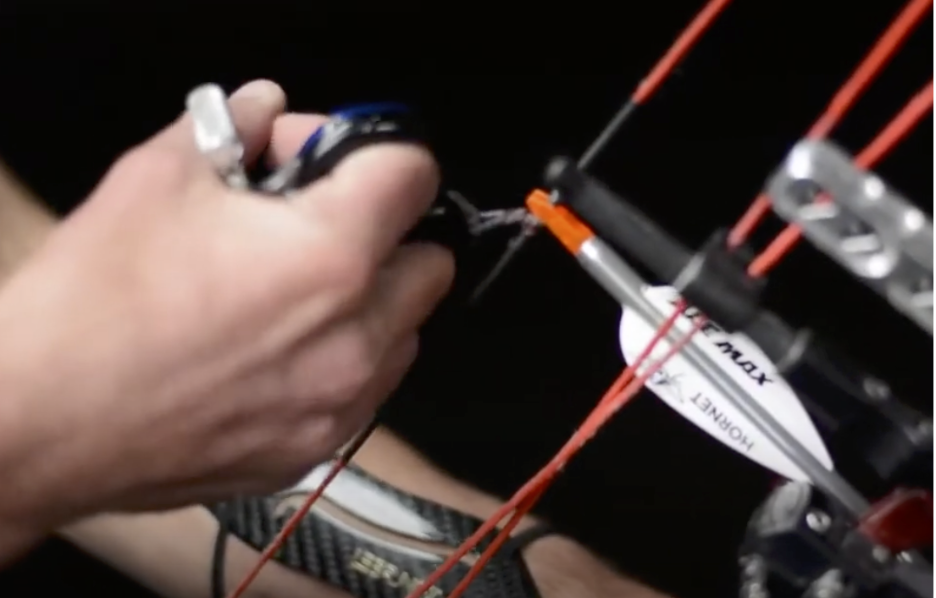

💡 Pro tip: Never adjust your fingers at full draw. All corrections must be made here, at setup, where you can see and feel them.
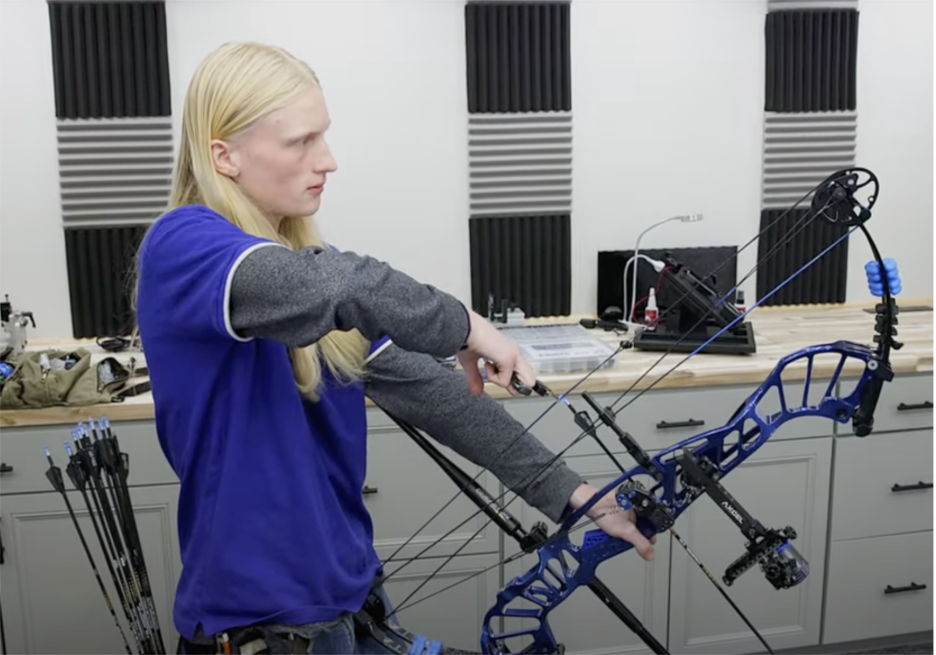
2. Establish the Perfect Grip
- Rest the bow on your leg with the release attached.
- Start with your hand flat to the floor, then align the “V” between thumb and forefinger with the bow grip throat. Point your thumb at the target to line it with your forearm.
- Add a light pinch between the base of your thumb and forefinger—just enough to hold a straw. This reduces grip torque and locks the hand in place.
- Apply even pressure across the grip, with slightly more pressure toward the bottom.
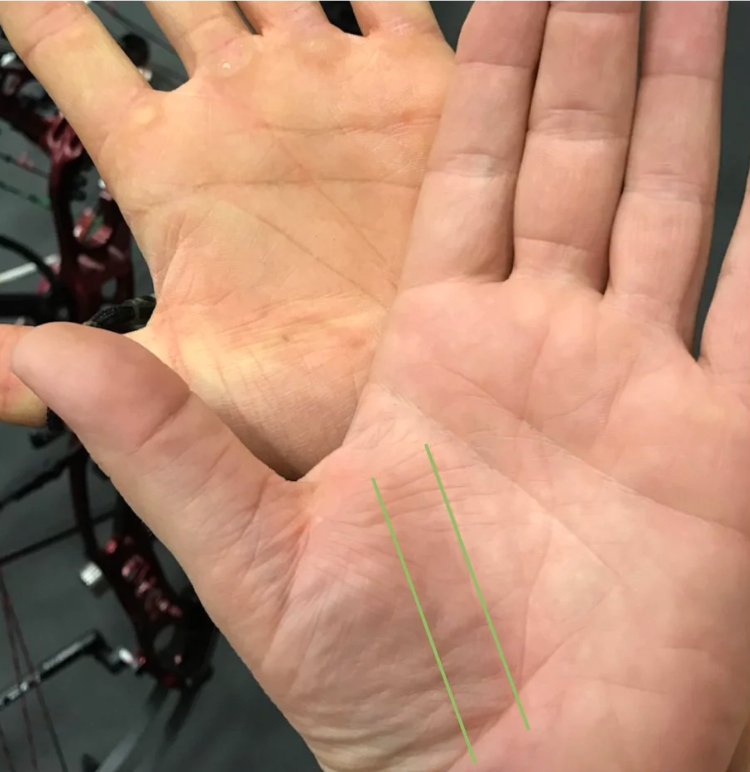

After a few shots, check your hand:
- Sharp, clean grip mark = good consistency.
- Blurry or multiple impressions = your grip is changing from shot to shot.
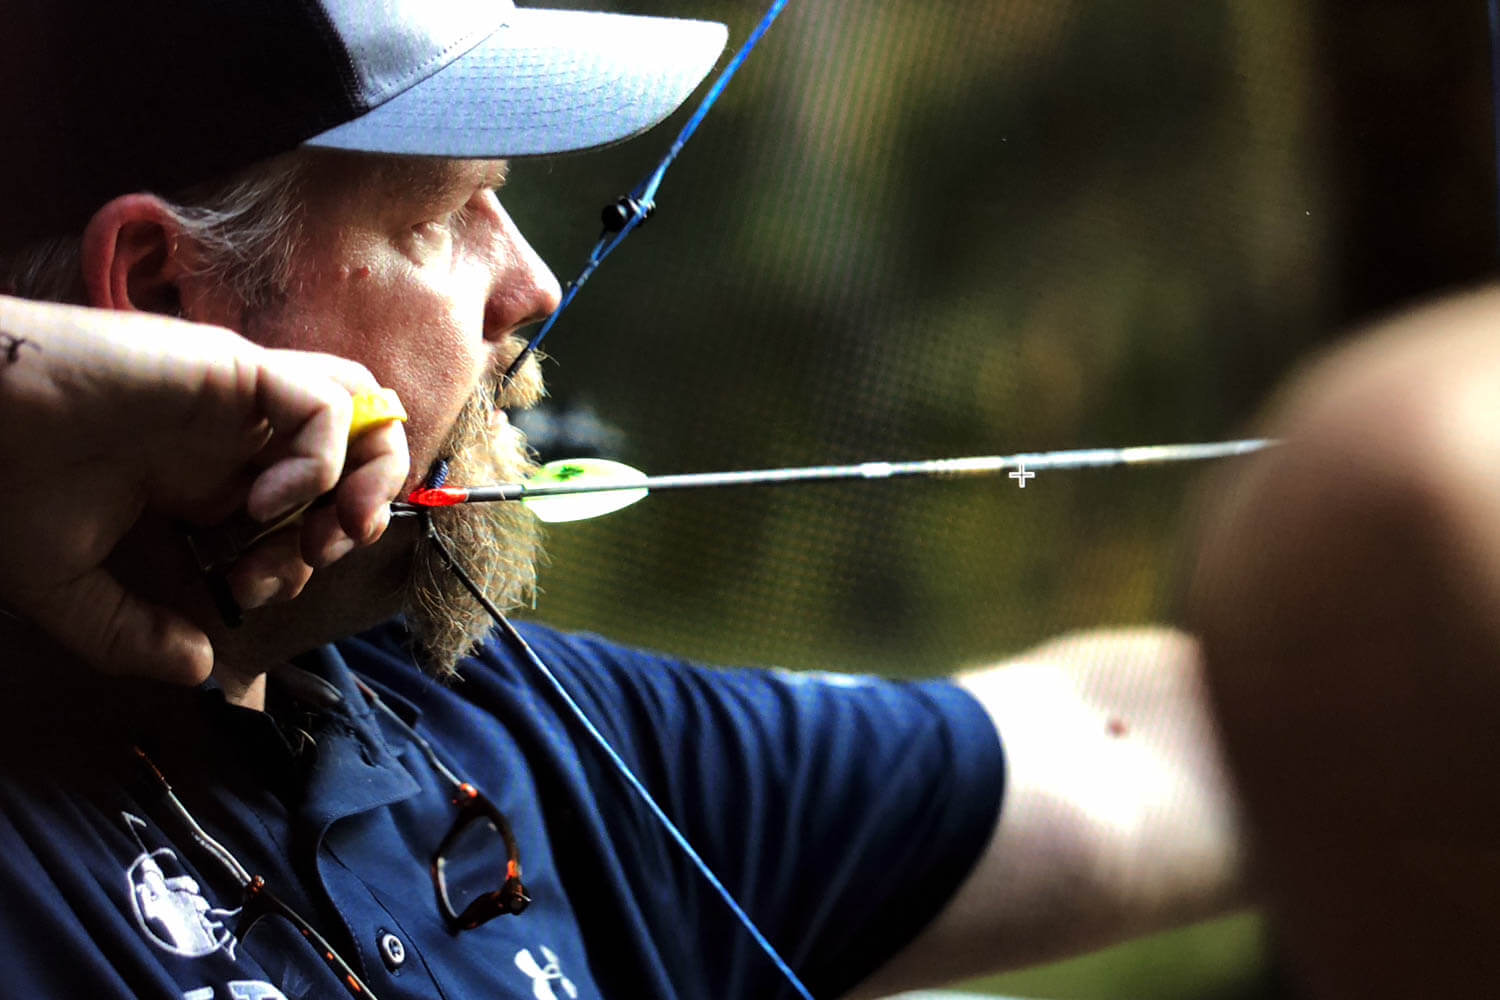
3. Nose on the Target & Breathe
- With fingers and grip set, lift your eyes to the target.
- Take a deep belly breath and slowly exhale. This lowers heart rate, reduces tension, and resets your mind.
- Relax your shoulders, face, and neck, but keep your body in shooting position.

At this point, you’re fully prepared. Nothing moves except raising your arms to draw. Your attention is locked on the target, and your body is aligned for consistency.
Quick Recap
Step One can be remembered as:
Fingers → Grip → Nose → Breath
- Set your release hand and check finger depth.
- Build a consistent grip with a light thumb/forefinger pinch.
- Fix your eyes on the target and take a deep breath.
Do this the same way every time, and you’ll eliminate a major source of inconsistency before the bow even comes to full draw.
What’s Next: Part Two
Part one lays the foundation for every shot and for consistency. Practice it this week until it becomes second nature. In part two of the Big Four, we’ll dive into how to draw the bow correctly without losing all the consistency you just built.
Until then, focus on part 1 setup, grip, and breath—and watch your groups tighten.
Want to Train Part One With Me?
You can get personal coaching—either online via Zoom or in person— by visiting ImproveMyArchery.com. I coach compound, Olympic recurve, and barebow for all ages and skill levels.
Archery is my life, and if you’re serious about getting better, I’d love to work with you.


Comments (0)